
Pasta Machine Prints
Even if you don’t own a traditional printing press you can create small foam prints using a pasta machine at home or in the classroom. Foam printing has been one of our most popular activities over the years in classes and for special events. Since we go through so many “printing plates” here in The Studio, we buy 9”x11” white styrofoam trays in packs of 50 and pre-cut the foam into circles using a sharp X-acto knife. A circle makes it easy for kids to carry and match up the edges of their print if they want to overlap multiple colors. No matter what shape you choose, just make sure the foam plates you cut fit through your pasta machine.
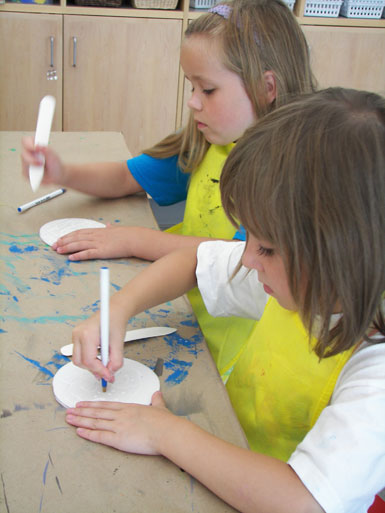
To etch marks into the foam we use ballpoint pens, clay modeling sticks, wooden dowels and bone folders. Light surface scratches will not show up so the trick is to make marks deep into the foam but don’t go all the way through the foam to make holes or cracks.
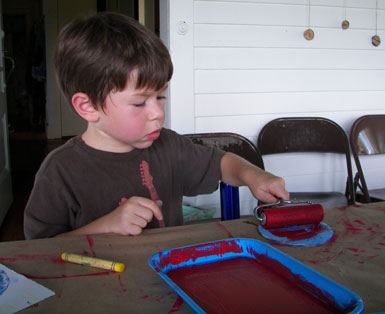
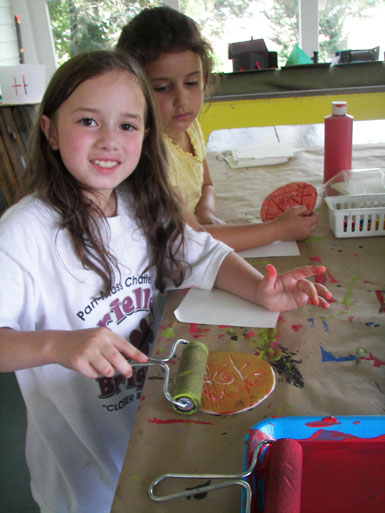
Carefully roll block printing ink or tempera paint over the surface of the foam plate. Avoid over-inking by counting 2-3 passes over the surface. More than that and your paint may squeeze out when it’s going through the pasta machine.
Press the plate onto a piece of drawing paper slightly larger than the plate but still narrow enough to fit through the press.
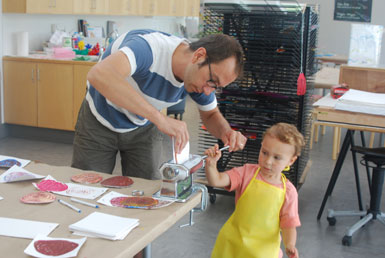
Crank the print through on the pasta machine’s widest setting and be sure to guide your plate and paper as it passes through the bottom. If the plate goes straight into the table it could crack or break. Young children can work together with an adult to print. After the first couple times with help from an adult, older children can then print by themselves.

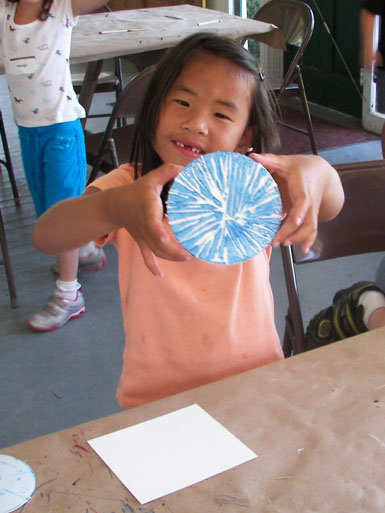
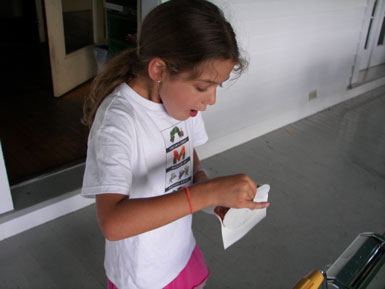
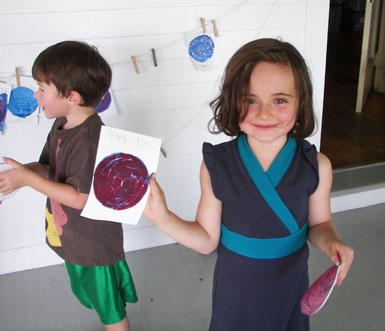
Peel back the paper and you’ve got a print!
Try overlapping your original print in a contrasting color, or go back into your plate to make additional lines and marks before reprinting it.
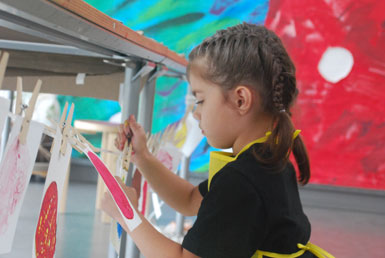
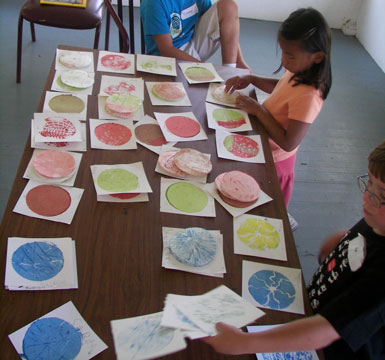
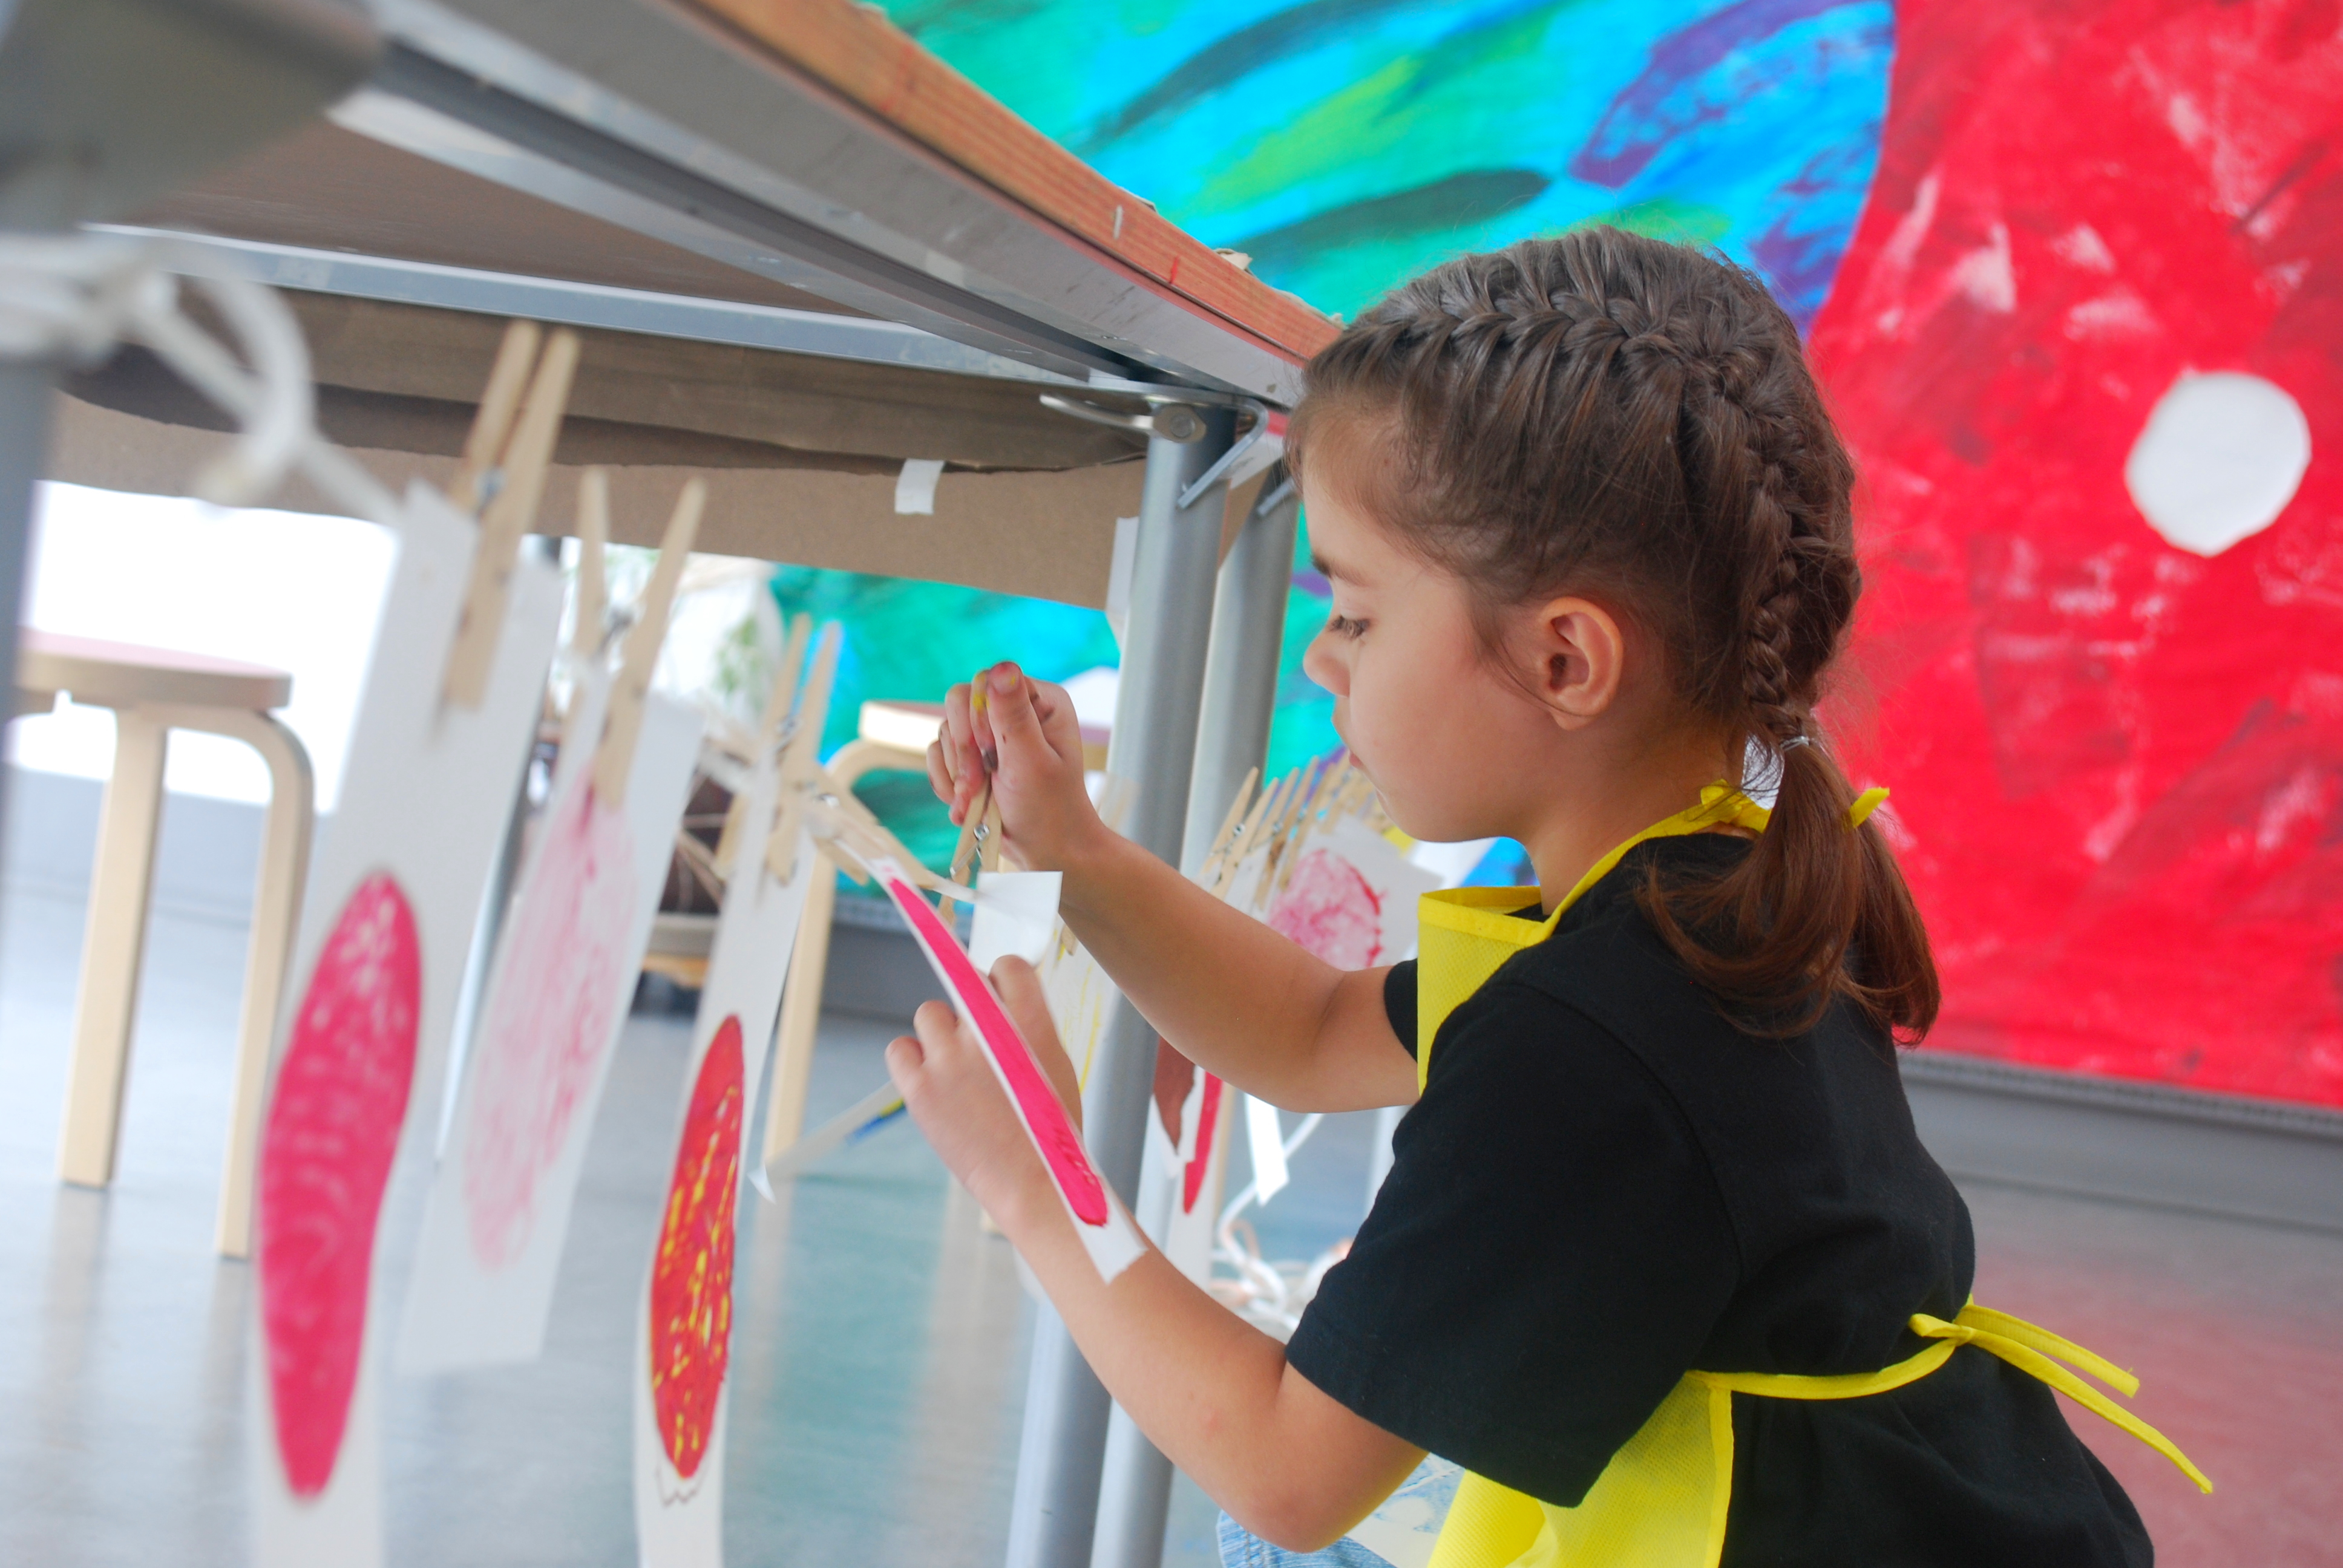
Wet prints will dry quickly on a temporary clothes line strung below a table or have students stack their prints on a table to keep work organized.
I recommend this project for ages 3-5 yrs. with one-on-one help rolling and printing. Ages 6 + can roll and print by themselves but should have an adult supervise their rolling and printing technique. If you have several children doing the project at the same time setup two pasta machines and two inking stations on opposite ends of the room to prevent crowding.
** Note: Once the pasta machine is used with paints it should not be used with food. Instead of purchasing foam trays, you could recycle trays from the grocery store. Just make sure they’re properly sanitized before use. Of course, if you don’t have a pasta machine, you can hand print your plates instead.
Happy printing everyone!
