Children Can Make Their Own Costumes
With Halloween is right around the corner, we want to share a costume-making workshop we did in this year’s Animals Art and the Imagination summer program.
During our planning phase, Diana and I reflected on how much children love making things they can wear. We decided to have the week culminate in a costume design and construction project.
One of our goals for the project was to simply offer the luxury of time to create, experiment, and problem-solve in a group setting without a lot of interruptions from us educators. It feels funny to call this kind of time a luxury because we firmly believe that this is one of the best ways for kids to learn.
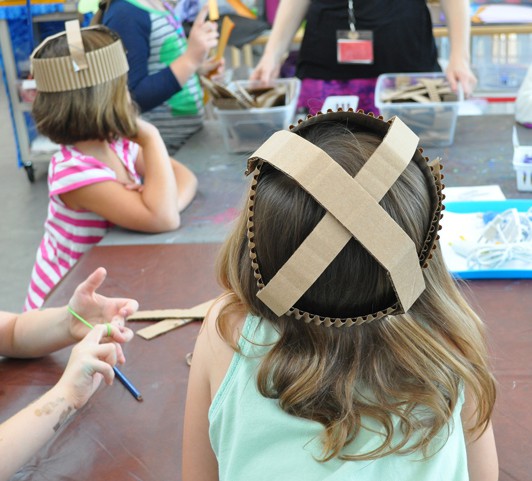
We started by having the students partner-up to create custom-fitted head-piece structures inspired by The Cardboard Collective. Using strips of cardboard and staplers I first demonstrated on one of the students how to make a ring for the circumference of their head, then add strips that criss-crossed over the top. Our students ranged from six to ten years old, and only a couple of the youngest needed help operating the stapler.
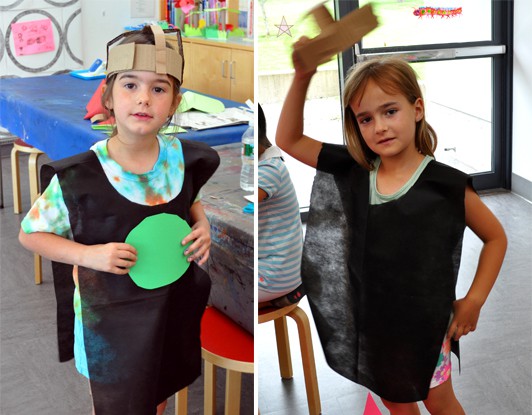
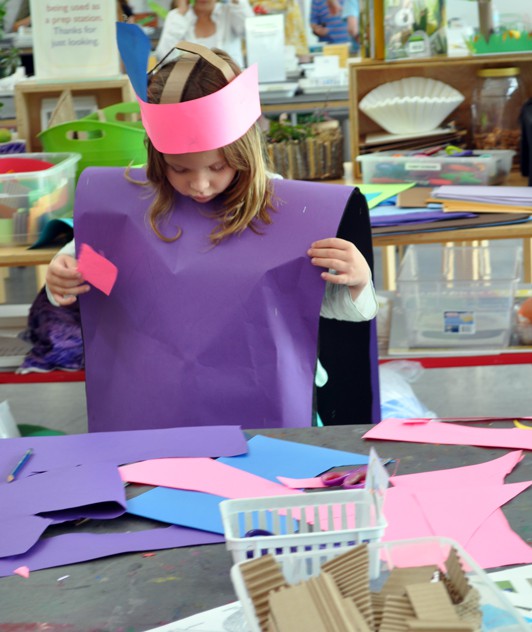
Next, I introduced the students to rectangular smocks we prepared ahead of time out of SmartFab, a product we order through Nasco. Smartfab is the same material as many reusable grocery bags and we’ve used it in a few different projects before. Offering a base material on which to build and add elements of their costume allowed the students to create something they could take on and off without tearing their costume.
We cut the head holes ahead of time by folding the rectangle into quarters and cutting a quarter circle out from the folds, but many of the head holes ended up larger than they needed to be. Next time we’ll start with much smaller hole and have the students adjust as needed.
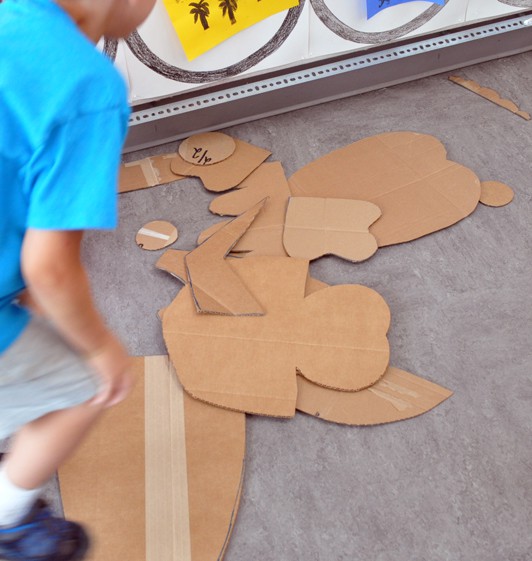
Then, together, we reviewed ways that to change and manipulate paper. For paper construction projects I like to have my students generate a list, in words or physical examples, of manipulation and construction techniques they can reference as they work. This group’s list included: cut, fold, bend, tear, fringe, crumple, roll.
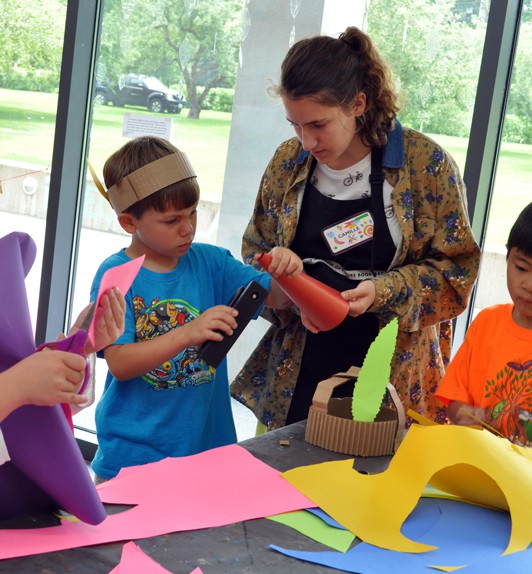
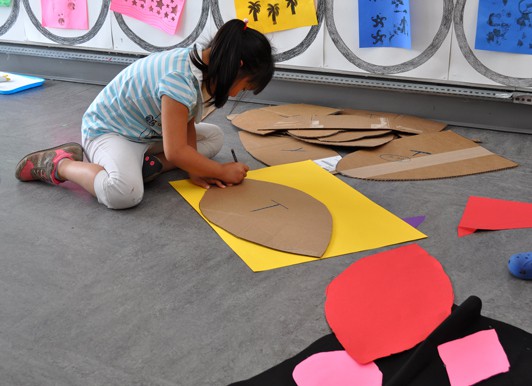
Next, I revealed a buffet of construction and embellishment materials. We offered 18”x24” colored construction paper, corrugated paper, fabric, tissue paper, a few patterned papers and regular and fancy-edged scissors. For connecters we offered tacky glue and staplersa as well as three hot glue gun stations. We also had a set of cardboard shapes students could trace to help them create shapes for elements of their costume.
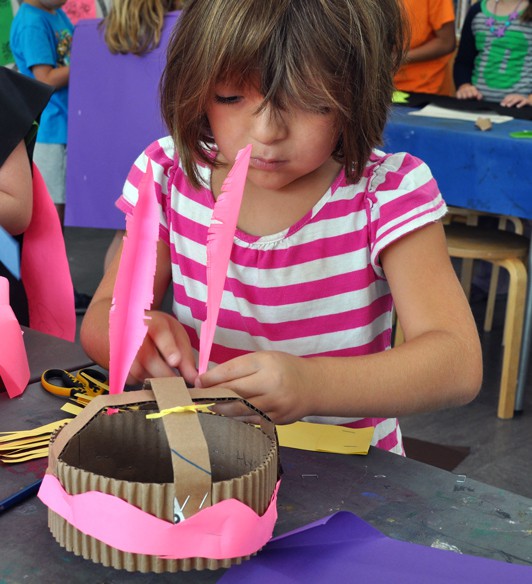
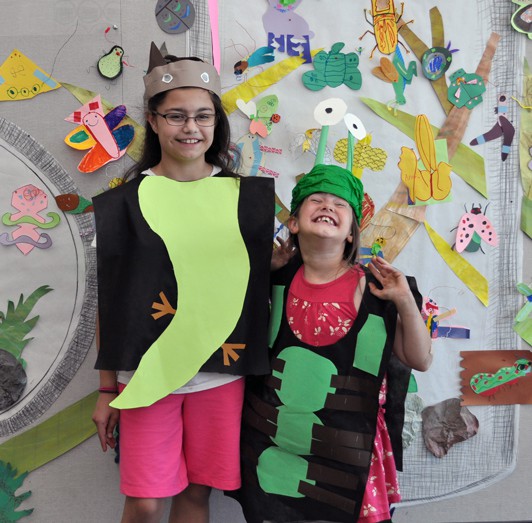
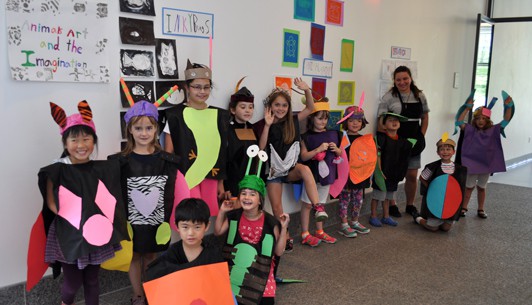
One of The Carle’s summer exhibitions featured insects from Eric Carle’s art. We used insects and small creatures as a springboard for projects throughout the week, so by the time we started the costume project, they were familiar with lots of different insects’ anatomy. Many of the students costumes included bug-inspired parts, the rest were happy to pursue other ideas.
Whenever possible, the students helped each other. Our interns and I offered support in the form of a third hand for a child who needed it, technique coaching, or strategic questions that helped them come up with solutions.
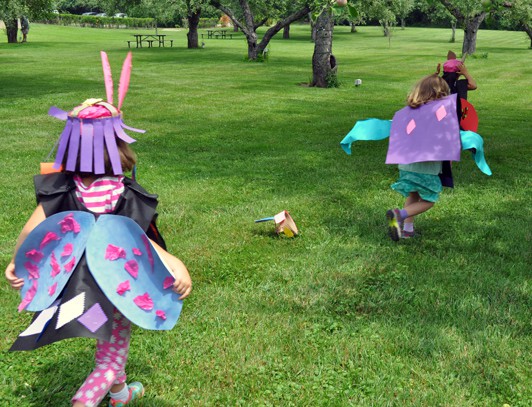
The students were so proud of their costumes they paraded around the orchard and inside the Museum wearing them. They also wore their costumes during their art exhibition reception, the culminating event of the week where the students get to share their work from the week with their families.
Have you ever done a costume construction workshop at home or in your classroom? What kind of materials and inspiration did you offer? Let us know about your experiences!

