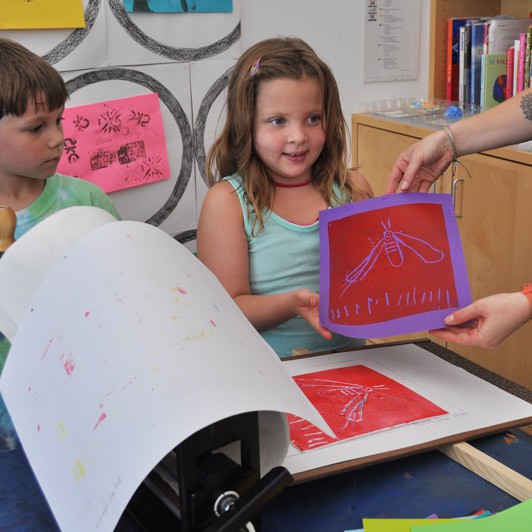
Animal Doodle Prints
Transforming doodles of animals or little creatures into beautiful, colorful prints—what’s not to love about this inky activity! The finished prints make great gifts for friends and family, or a colorful addition to your classroom or home gallery.
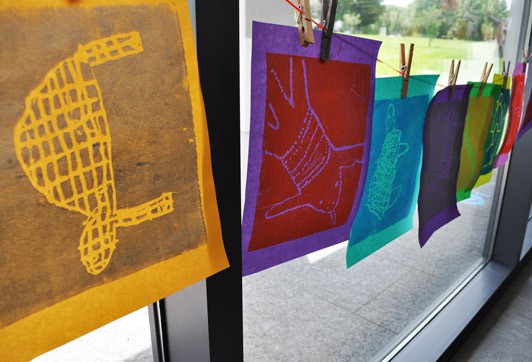
Here are the materials you will need:
- Foam trays: You can re-use clean trays from the grocery store, or purchase new. We cut the curved rim off the edges to make them flat for printmaking, but you can keep the rims on to use for an inking tray.
- A covered surface that can get inky
- Block printing ink or water based tempera paint
- Brayers or foam rollers
- Paint scrapers to spread the ink on the tray
- Ball point pen or stylus to impress your doodle into the foam
- Printing paper cut to size, we used Designer Fadeless Art Paper but any construction paper, copy paper or drawing paper will work.
- Optional: transfer paper and masking tape to transfer doodles to the plates
- Optional: printing press (you could hand print if you do not have access to a press)
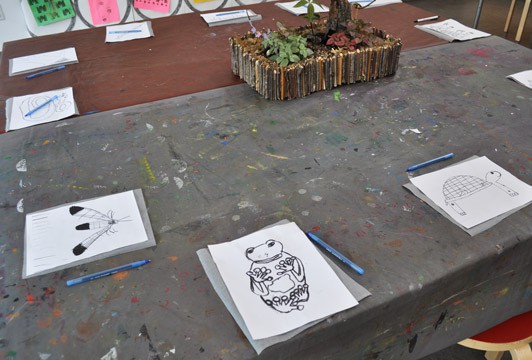
To start, we enlarged each child’s doodle on the photocopier to fit the size of the plate, but you could skip this step and just doodle directly onto the plate. At each student’s seat we put a ballpoint pen, their animal or insect doodle on copy paper, a piece of transfer paper and the foam plate at the bottom. With the transfer paper sandwiched between, the children traced over their doodles so the marks would appear on the foam plate below. It helped to tape the stack together to keep it from moving while they worked.
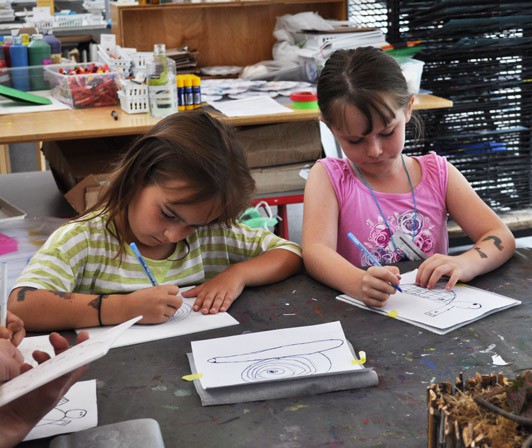
Once the outlines of their doodles were transferred, we removed the transfer paper and copy paper and they pressed the ballpoint pens into the foam to make a deep mark. Make sure you don’t press so hard with the pen or tool that you break through the back of the foam.
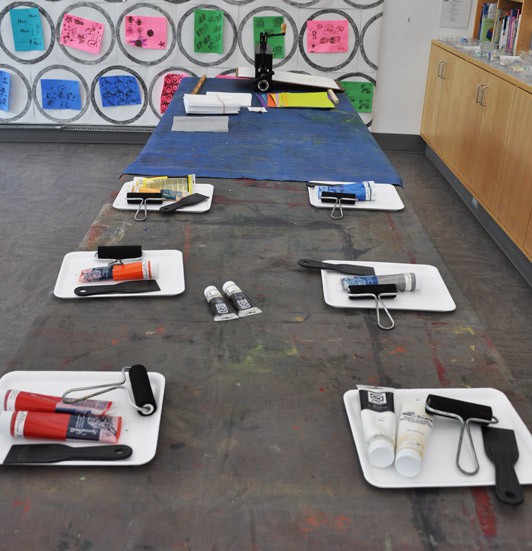
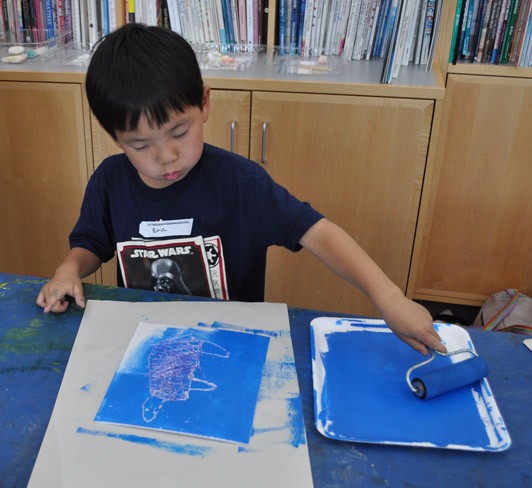
Nearby their drawing area I setup an inking station and area for working with the printing press. We provided six different colors, but you could simplify and just use black or white ink on colored paper instead.
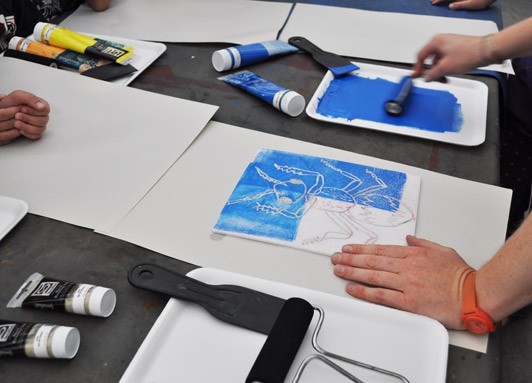
After a quick demonstration of the inking and printing processes with my ant plate,
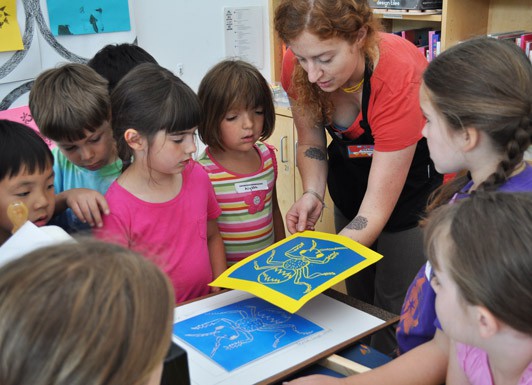
it was the students’ turn! They picked the colors they liked the best,
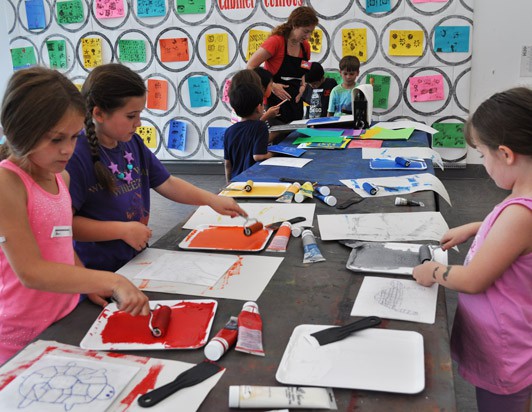
then waited their turn to run it through the press. I stood by for each run to make sure the process at the press went smoothly.
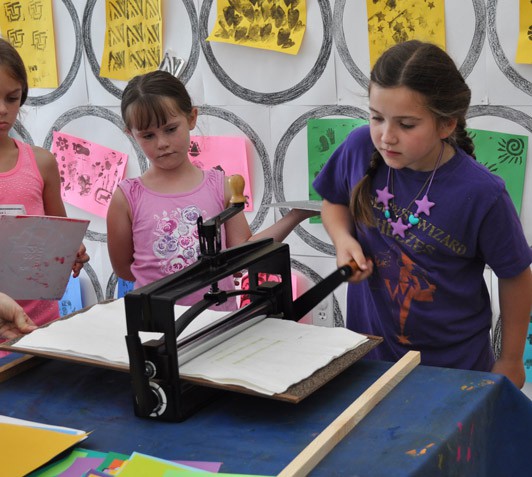
Clearly, their favorite part was the big reveal!
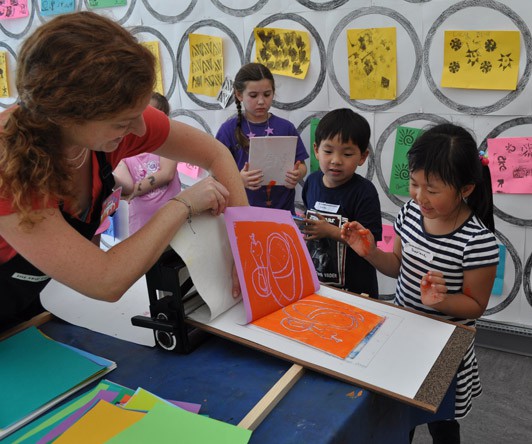
Or maybe the inking?
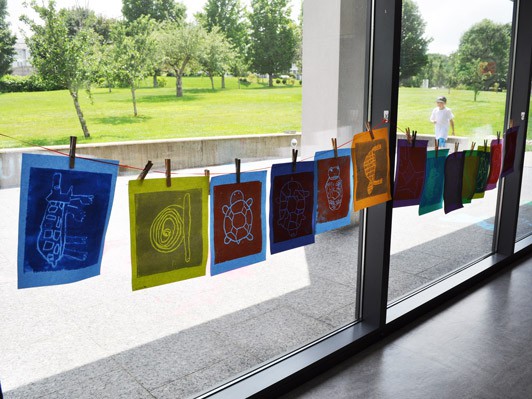
In between each round at the press we hung their work and washed and dried their plates in the sink so they could start the process over again.
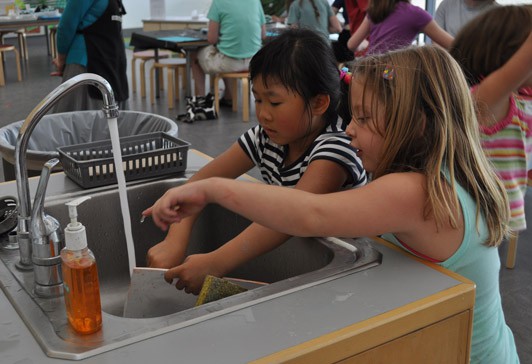
If working with a large group of students, it works well to have a second engaging project for them, and call over a few kids at a time to print. This will prevent a long line at the printing press. Another way to speed up the waiting process is to have them each hand press their prints by rubbing the back of the paper with your hands or the back of a wooden spoon.
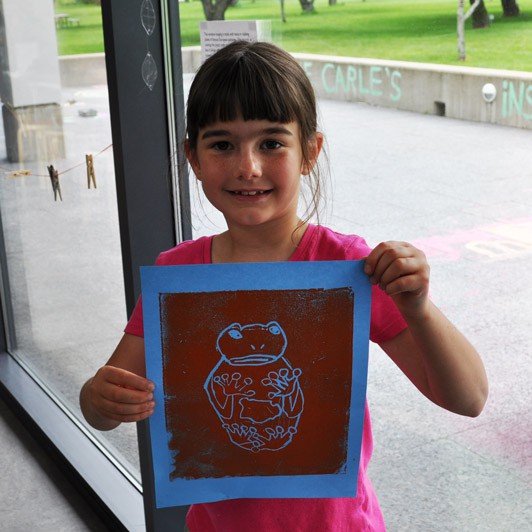
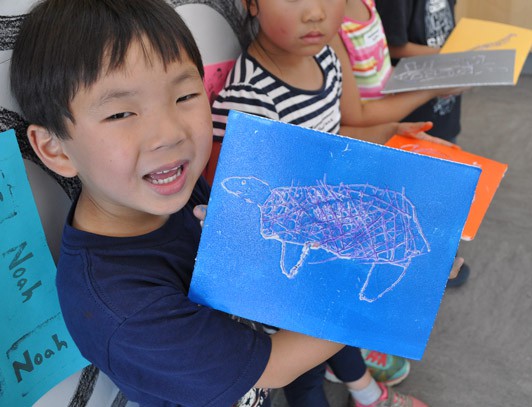
I’m so proud of their beautiful work, and from their expressions, I know they were proud of themselves, too.
