Art Studio Intern Project: Plaster and Tissue Paper Sculptures
Recently one of the Art Studio Summer Interns, Allison Shilling, a rising senior at Mount Holyoke College in South Hadley, Massachusetts, designed a special activity for our Museum guests. Below is her report on the day.
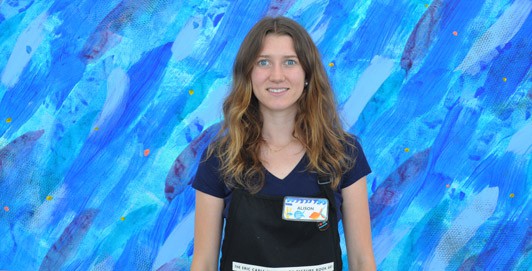
The basis for my project originally came from some rolls of plaster gauze we found hidden away during storage spring cleaning. Diana asked me if I wanted to incorporate the plaster into a special activity, and I liked the idea of creating sculptural forms. Working in three-dimensions adds a whole extra element to art making. Shape and structure build off of one another and the artist can fully engage with his or her materials. Also, it’s fun and messy! The plaster would act as a great medium for creating sculptural forms that were easily malleable when wet, and exceptionally sturdy when dry.
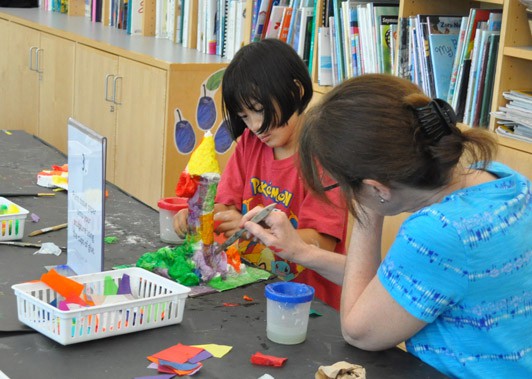
White gauze plaster, while great for creating curved forms, is a little plain to look at. So, I wanted a way to bring color to the project. I considered providing paint for the structures, but trying to paint the wet plaster could be frustrating for younger guests, as well as damaging the paint brushes by filling them with wet plaster. Instead, in Eric Carle fashion, I experimented using tissue paper to apply to the semi-wet sculpture. Using liquid starch as an adhesive, the tissue paper stuck to the sculptures well, without having to apply much pressure with the small chip brushes. Colorful feathers could also be “glued” in place with the liquid starch as a fun addition that gave the forms another texture and dimension.
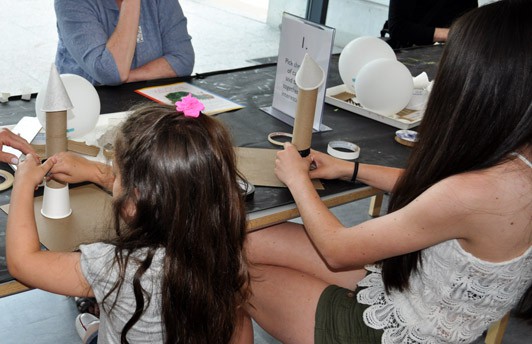
In the nature of the Studio’s art activities, this project felt very open-ended. The project was divided up into three tables in order to clearly layout the steps, and contain the wet plaster to designated working stations. As a guide to get guests started, they could choose three “objects” to use as a framework for their sculpture. Plaster adheres well to cardboard and paper supplies, as well as organic-shaped balloon forms. Types of cardboard included paper towel rolls, old packaging tape rolls, paper cones, and rectangular scraps. After choosing their three items, they used rolls of masking tape to construct the framework for their sculptures.
At the second station guests dipped plaster strips in cups of water and solidified their forms.
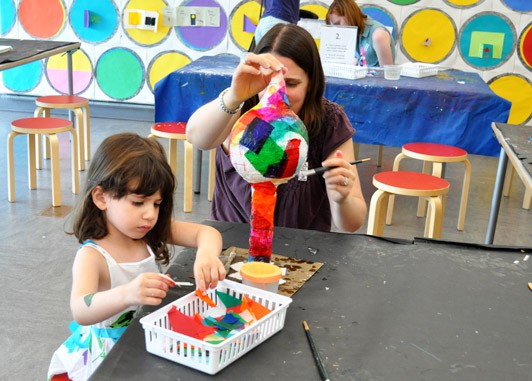
On the third table, guests used the tissue paper (that was prepped and cut into about 3” area pieces beforehand) and painted using the liquid starch to apply the tissue paper.
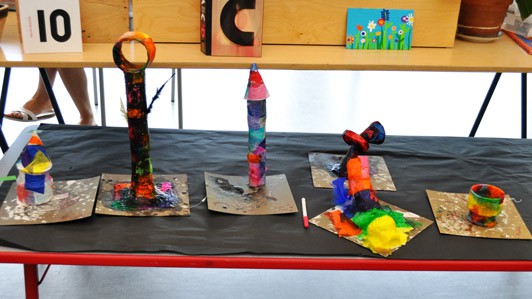
It was a busy Sunday in the studio, and I found myself continually prepping plaster strips and tissue paper until the very end of the day as guests devoured the opportunity to work with a medium that was new to most. Many sculptures were abstract, where kids tried to build as tall of a structure as they could. Some guests built houses, bowls, and shoes. My favorite part of the day was seeing the proud expressions on guests’ faces with their finished creation!
