Art Studio Intern Project: Silly Texture Paint Brushes
Recently the Art Studio’s winter intern, Emily Tyburski, a student at Smith College, designed a Special Sunday art activity for Museum guests. Below is her report on her experience.
During my J-term internship in the Art Studio, I became increasingly interested in art media that allowed the maker to experiment through trial and error, and play with hands-on techniques. With Diana and Meghan’s guidance, I began gathering materials and painting on surfaces with various visual textures. My project evolved into creating homemade paint brushes and exploring the basic relationship between paint and surface.
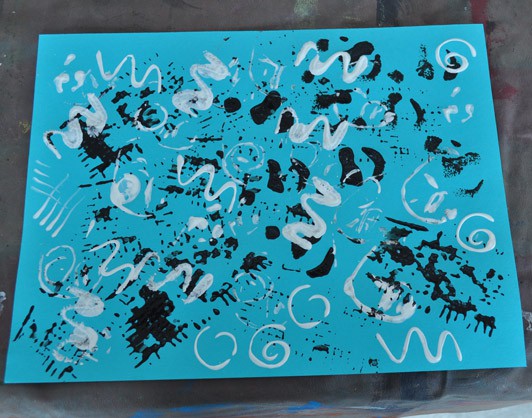
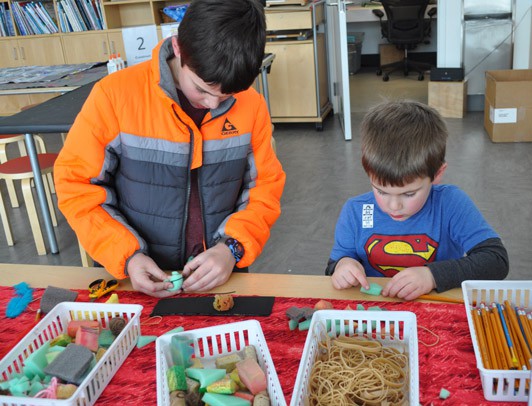
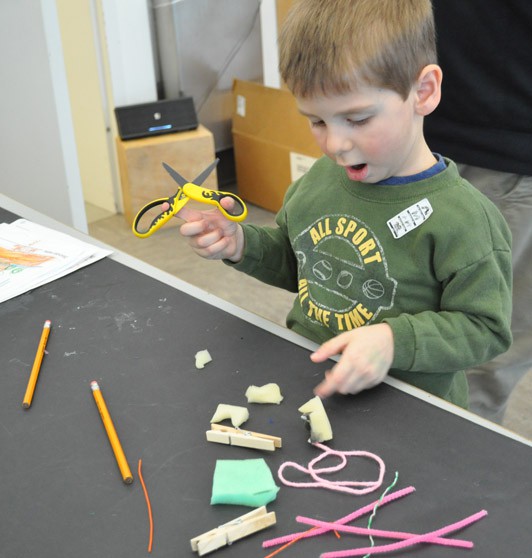
Once I had my project idea, I sorted found and repurposed materials for making the brushes, including but not limited to: sponges, foam, vegetable/fruit netting, rubber bands, cork, twine, feathers, and other common objects in the Art Studio’s collection.
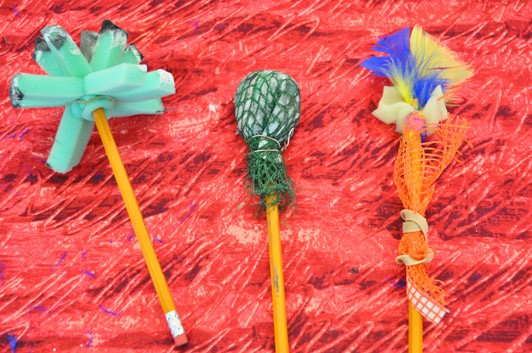
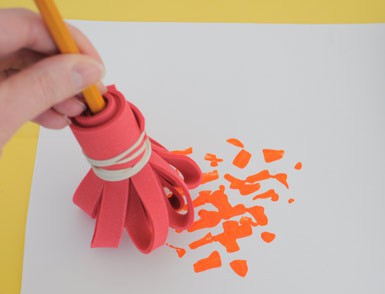
Two blog tutorials by Meghan and Diana were very helpful to me while developing my construction techniques: Meghan’s tutorial on making “Silly” paint brushes with pencils and sheets of craft foam,
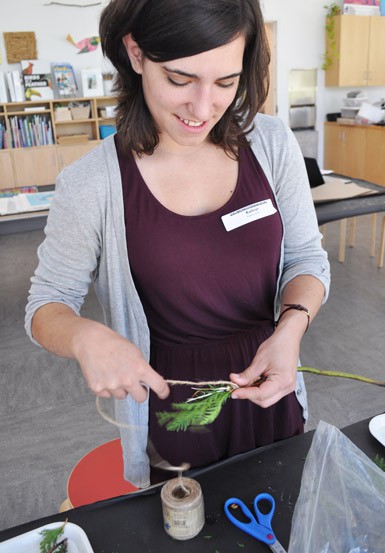
and Diana’s tutorial for making brushes with sticks, pine boughs and twine.
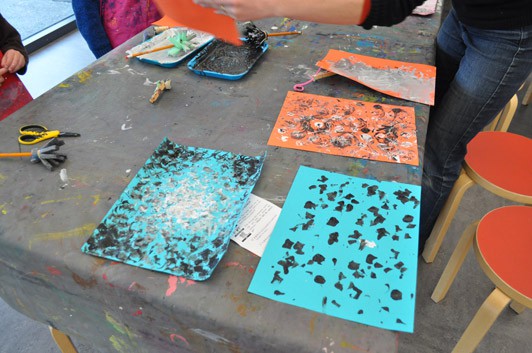
Once I confirmed the materials for my activity I began thinking about the paint and paper. I first wanted to provide guests with a palette of colors to paint onto white paper. Diana questioned my reason for this decision, and suggested providing black and white paint to help focus guests’ attention on the textures and marks of the brushes on the paper. I thought, maybe I could use colored paper instead of colored paint.
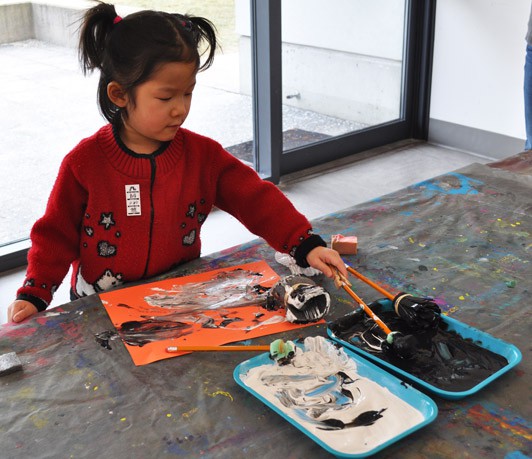
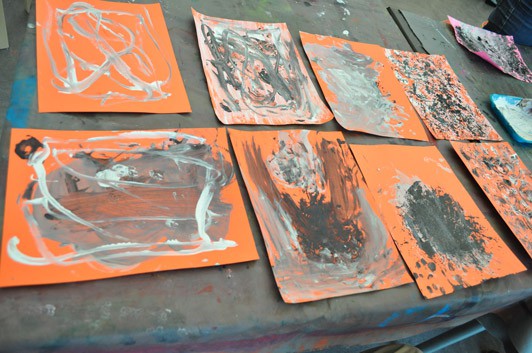
After reading this quote from The Language of Art: Reggio-Inspired Studio Practices in Early Childhood Settings: “Black and white provide a frame through which we more clearly see and understand color. Side by side on paper, the contrast between black and white calls each more fully to life,” I had a better understanding of the benefit of honing-in on the materials for my project. I did not need to offer 5 different paint colors for guests to enjoy the activity, they could mix the black and white paints into a range of shades, and focus on the textured marks on their papers.
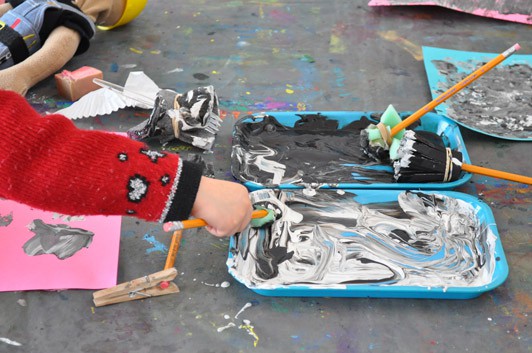
I arranged the work space into three stations: materials, construction, and composition. At the materials station, objects were in boxes based on their texture. At the corner of the table, clothespins and pencils were available to be used as brush “handles.”
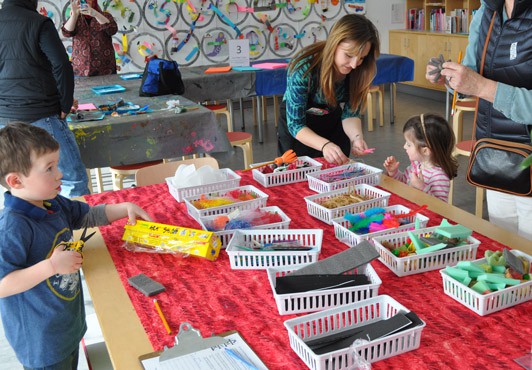
During the project, younger children eagerly touched and explored all of the items, when older guests seemed content working with just a few. I overheard guests asking questions like, “I wonder what this will do?” and wondering how they could alter the materials.
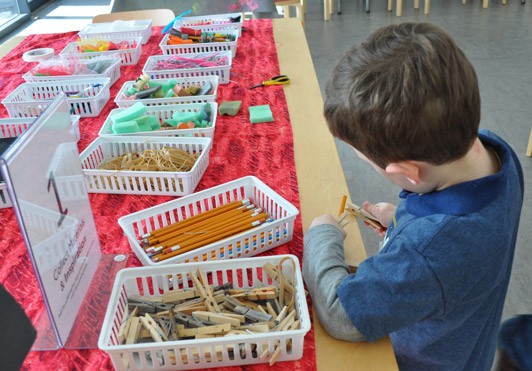
Although I encouraged participants to create brushes freely, I put out several pre-made examples for guests to recreate or draw inspiration from. I was also available to help answer any questions about the steps.
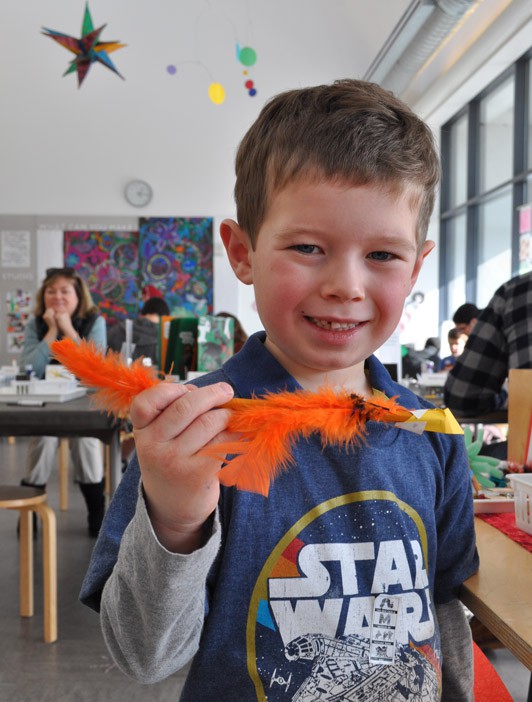
After constructing their brushes, guests could test their brushes on colored sheets of construction paper. This was an especially fun part of the project, and their designs and textures looked great!
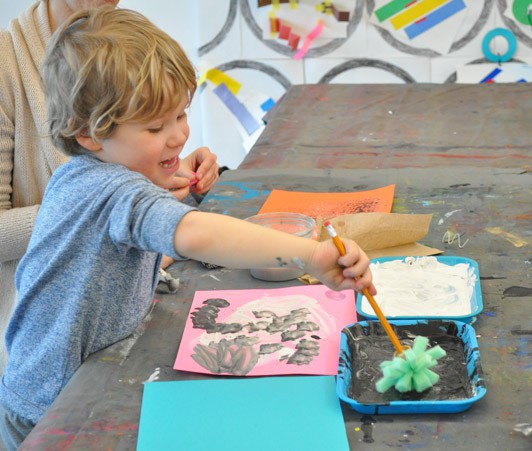
I was really pleased with my Special Sunday. We had a great turn out, and guests seemed to really enjoy themselves as they easily followed the steps at each work station. Experimenting with textures is a great way to practice problem solving skills, hand-eye coordination, and creativity. Even the most basic materials have unique characteristics that have interesting visual outcomes when mixed with paint.
Preparation for this project is very simple and can easily be recreated with materials found right in the home.
