Collagraph Prints
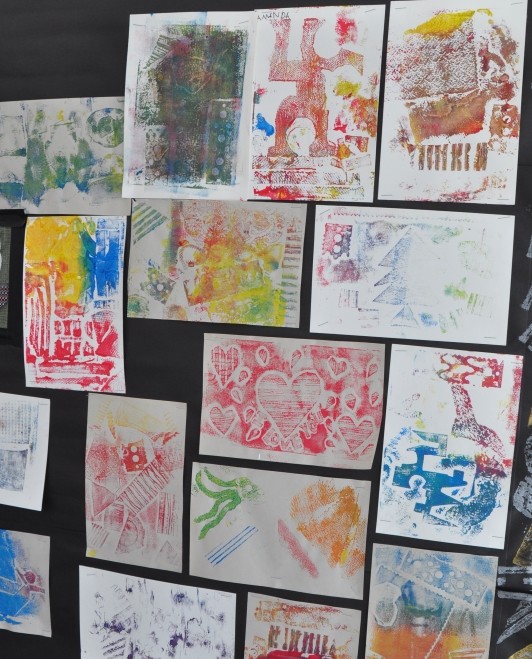
Inspired by the many materials and techniques that 30 artists used in the exhibition Our Voice: Celebrating the Coretta Scott King Illustrator Awards, we decided to explore a process that would invite guests to experience a range of media. We also were inspired to continue our exploration of printmaking after last year’s monotype print project. So we decided to try collagraph printing, a process that involves collage, paint, and printing techniques. It was time to test out our first two-stage drop-in project in the Art Studio!
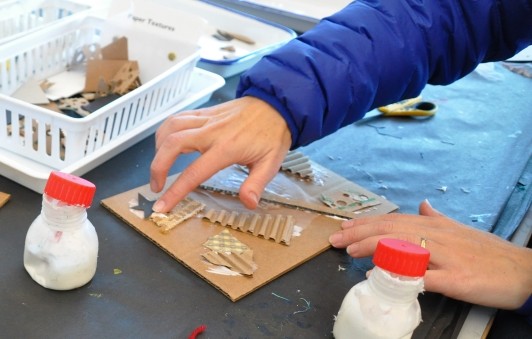
To create a collagraph print, you first make a textured collage “plate”. For this, we provided guests with collage materials to glue down onto a matboard or cardboard base. We used tacky glue and found that the bond it created was strong enough that the plate could be used right away without waiting for the glue to dry. This was important in our setting where most guests complete the project in one sitting and aren’t able to return later to finish the process.
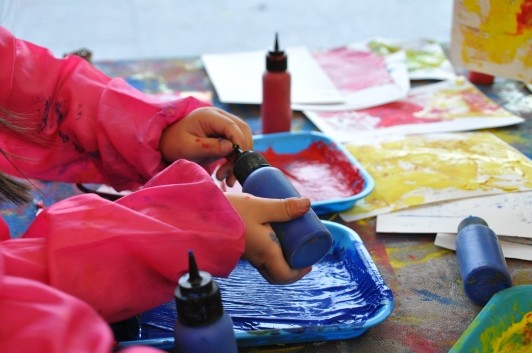
Once guests created their plate, they were invited to “ink” their plates up using brayers rolled in washable tempera paint. Different colors could be layered on top of the plate, creating secondary colors when printed.
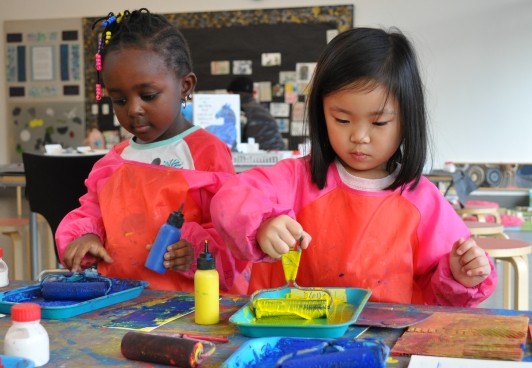
The last step involved hand-printing by pressing a paper onto the “inked” plate, evenly rubbing the paper with hands to ensure a transfer of the thin layer of paint to paper.
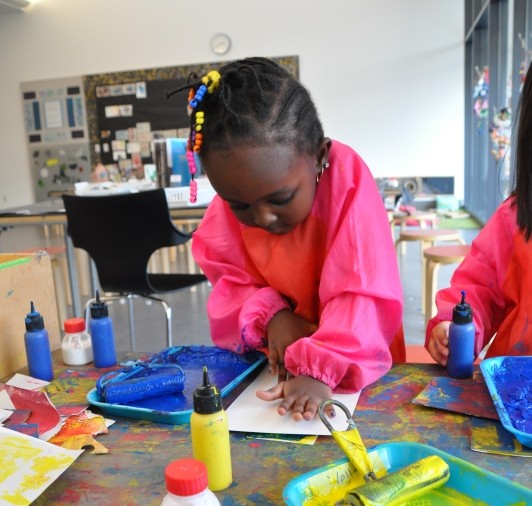
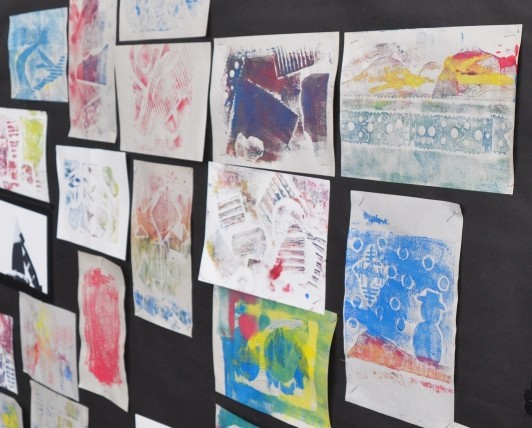
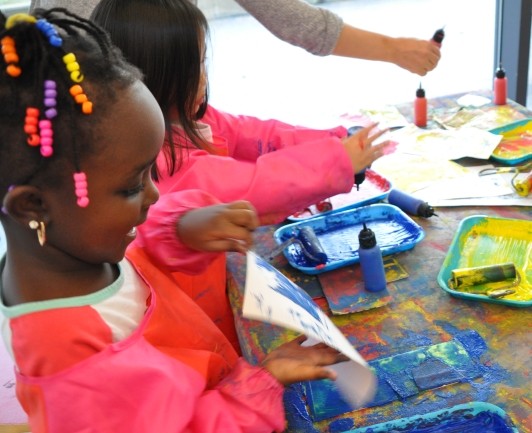
Removing the paper is a fun moment in printmaking, there is always a surprise in seeing what transferred from the collaged plate to the print.
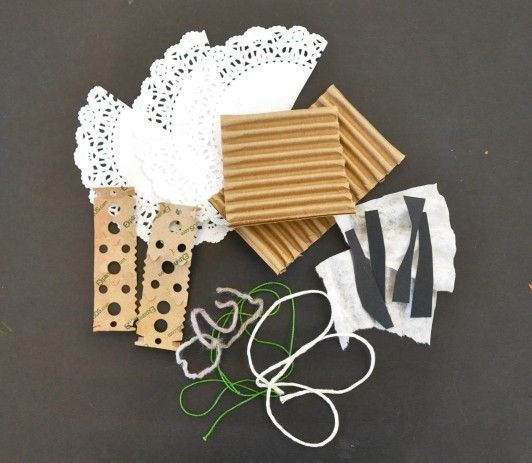
This was the first time we had tried collagraph printing in the Art Studio and we learned a lot. We experimented with using textured fabrics in this project, but found that they can be hard to cut without the right tools (such as sharp fabric scissors). In future Art Studio collagraph projects, we will stick with mostly paper-based materials. We found plenty of textured paper materials including corrugated cardboard, paper doilies, and thick card that can be cut into shapes. Next time we will also try using string to add more texture and line to the prints.
We also learned that in a multi-stage process like collagraph, it was important to set up stations in the room. Collaging took place at sit-down tables across the studio as this step took the most time. Printing took place at tables in the center of the room where it was easier to stand, roll the paint on, and press the paper onto the plate. Guests moved between the stations and could start at any point in the project, whether it was making a print from an already prepared plate, or starting to collage one of their own. For some, rolling the paint out and experimenting with color mixing using the brayers directly onto paper was a generative starting point. It was important that the project always remained open-ended, so the stations allowed Art Studio guests, of all ages, to move through at their own pace, and in their own way.
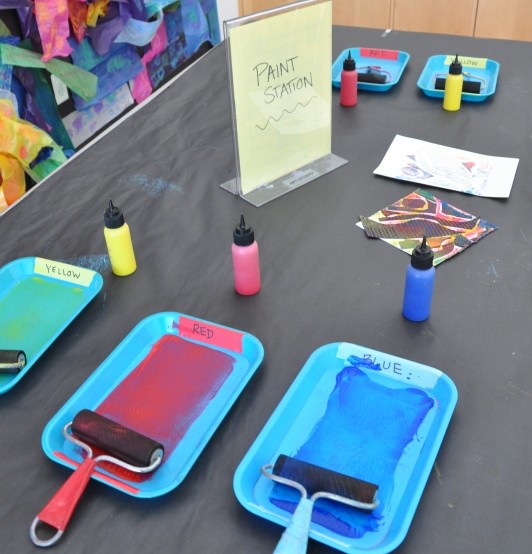
We also wanted to encourage multiple prints because this is one of the exciting characteristics of printmaking, the ability to create a series from one plate. In addition, there are many variables that can affect the outcome of the printmaking process, from the amount of paint added to the plate, to the way that the colors mix as they are layered on with the brayer. So it was important to give space for experimentation and repetition.
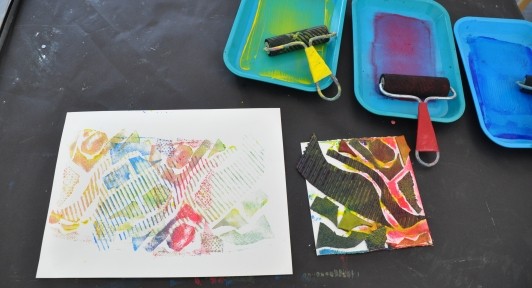
The results of all these variables often produced unexpected results, making this a fantastic opportunity to encourage what we started to think of as a laboratory approach. Each collaged plate would start with a hypothesis about what would happen when paint was added. The print stage became the test of this hypothesis, and an opportunity to make observations about the result. After completing this process, it was an opportunity to make adjustments and start all over again. This led to many discoveries, from learning that everything turns out in reverse in the print (all words will end up backwards!) to the way that using less paint often produces more detailed results.
We are excited to return to collagraph printing in the Art Studio. We will continue to try out new approaches, incorporate all that we have learned, make adjustments, and see what happens next!
