Glue, Stamps, Salt, and Sand Exploration
When I’m designing explorations for our Materials Play for Toddlers and Preschoolers series I try to include a variety of textures across the series to help build our young guests’ sensory awareness and vocabulary.
I also try to use everyday objects or materials we already have on hand. This is not only so that parents and caregivers can easily replicate the experience at home, but because why not? Working with what we have forces us to stretch our creative and problem-solving muscles and is easier on the budget.
So, for this exploration I used stuff the Art Studio already had and you have most of this kind of stuff around too.
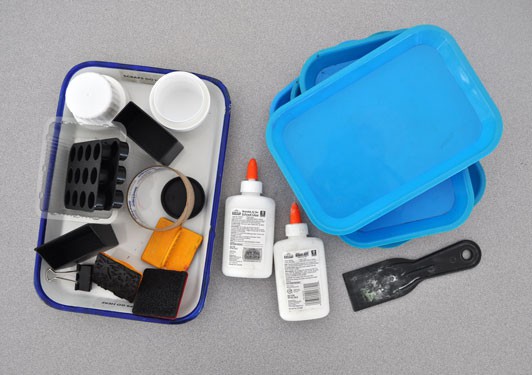
- Small trays: Ours are Medium Plastic Rectangular Trays from Montessori N’ Such. Clean foam food packaging, or even a coated paper plate or small baking pan would work too
- White glue
- Paint spreader, spatula, or plastic knife
- Found objects that are easily gripped by small hands (We used laundry detergent caps, empty tape rings, plastic packaging, and small cardboard jewelry boxes)
- Texture stamps like these (optional)
- Heavyweight paper such as cardstock or construction paper
- Salt shakers and/or small spice shakers
- Pieces of Tulle or cheese cloth (optional)
- Salt
- A large tray or cookie sheet
- Orange craft sand (optional)
- Dropcloth
Before the young guests arrived I set up two tables. One for stamping glue onto paper, the other for sprinkling sand and salt onto the glue.
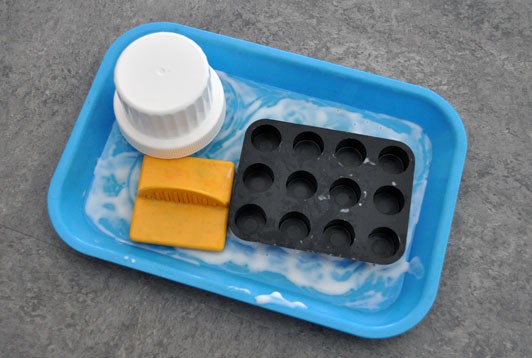
At one table we spread out trays with a layer of white glue spread into the bottom and a few objects and stamps placed inside. How much glue? Just enough to cover the bottom, but not so little we would need to replenish it too frequently or have it dry out.
Over the other table I spread a tablecloth (to aid with cleanup) and three large trays with a few salt and colored sand shakers. I limited the colors to white (salt) and orange (colored sand) since it was the day before Halloween and I was curious to see how the two colors would work together. This would also work with spices (such as ground cinnamon or cloves) or just salt if that’s what you have. If you do have colored sand, try offering just two primary colors, such as blue and red.
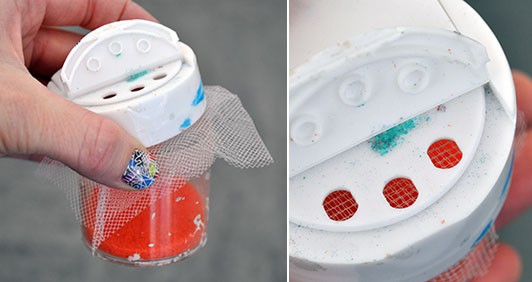
Each shaker was filled only halfway with a double layer of tulle between the mouth of the shaker and the cap. The tulle helps the salt or sand come out a little slower and therefore stretches the experience of shaking a little longer. If your shakers have large holes and you dont have tulle, try a piece of paper or aluminum foil with a handful of small holes poked through.
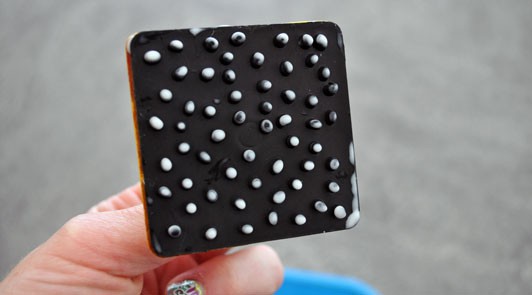
When our young guests arrived, they started by stamping the glue on their paper however they wished.
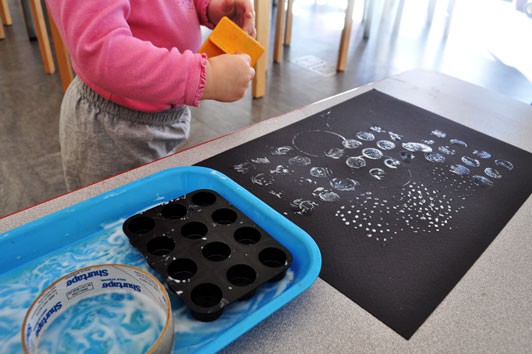
Then they carried their papers to the table with the shakers and trays. Most were able to figure out what to do with little to no verbal instruction and just a little bit of experimentation. A couple needed me to show them how to gently shake the salt and sand over the glue.
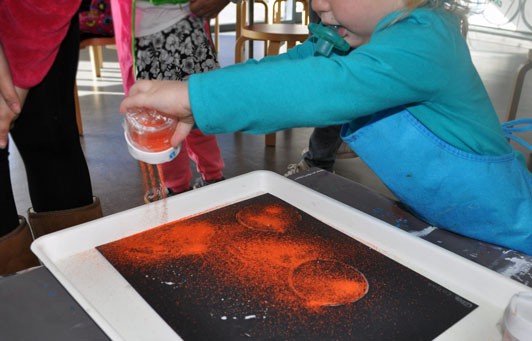
A few enthusiastic shakers got some salt and sand on the floor. No big deal, we swept when we were done.
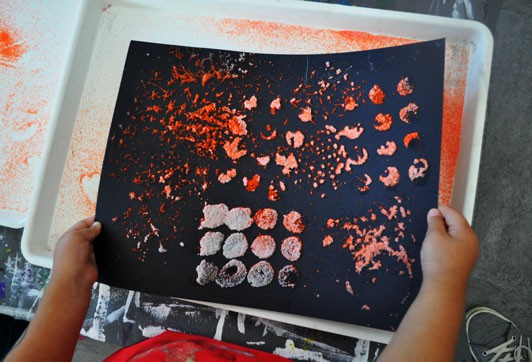
At the end when the bottoms of the trays were covered with salt and sand, a preschooler came along and started drawing in the sand with his finger. He found a fun way to extend the exploration!
Happy stamping and shaking!

