Mina’s Special Saturday: That’s a Wrap! Painting with Texture
Recently one of the Art Studio’s Summer Interns, Mina Puig, designed a Special Saturday project for museum guests. She planned the event, cut and prepared the materials, and introduced visitors to the project throughout the day. The following is her description of that process and the day.
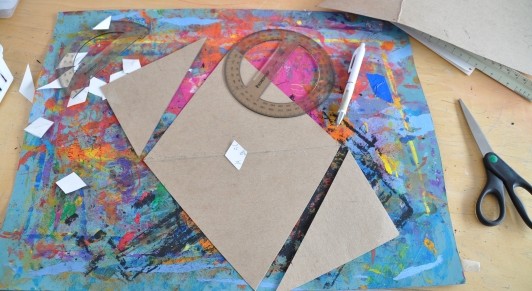
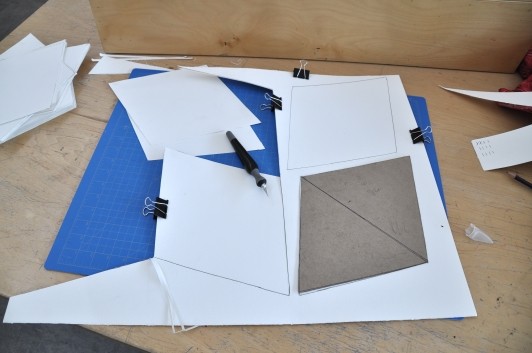
The creation of this project was a long process as I began with wanting to work with colored paper and poking sticks, colored strings and glue, giant drawing tools, different collaborative murals, and then finally settling in on painting with textures. This project ended up combining paint, string, cling film, watercolor paper, and a mural. These were all materials I had enjoyed using during my experimentation. Deciding on the shape of the paper was the next hurdle as I wanted a fun design that was big enough but also fit against itself in a unique tessellation for a wall display. The diamond ended up being the most versatile shape and I started the tessellation with a star design in the center of the wall.
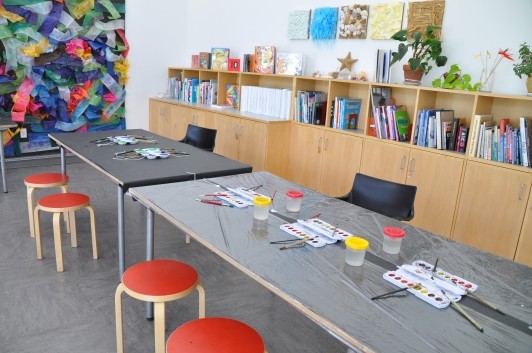
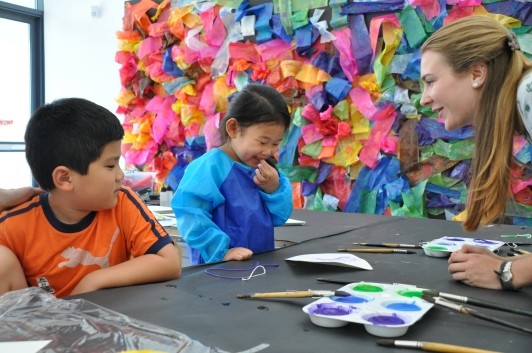
The set up for the project was fairly simple. I began with disassembling watercolor palettes, creating palettes of exclusively cool colors (blue, green, and purple) and exclusively warm colors (red, orange, and yellow). These were laid out on opposing tables during set-up. Next, I assembled palettes of exclusively warm tempera cakes and palettes of exclusively cool tempera cakes again laid out on opposing tables. This set-up was used to encourage guest to think about how the warm tempera and the cool watercolors could be layered with their varying designs. The watercolor tables were wrapped in cling film and the strings were pre-soaked in the tempera cakes. All stations were equipped with brushes and water.
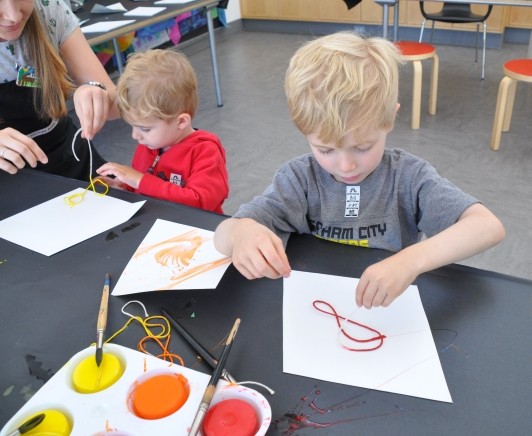
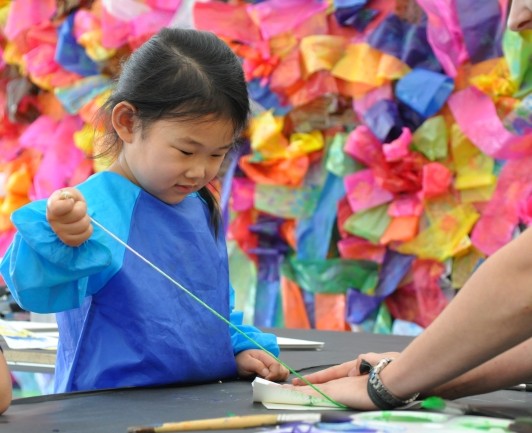
Guest were encouraged to start at whichever stationed sparked their fancy as deciding which “wrapping” product to begin with added to the variety of their layering experience. For the string station, guest chose a pre-colored string and laid it on their paper in a design of their choosing—looping the string in places—and left the unpainted string part hanging out the bottom. They then folded their paper in half and applied pressure to the top while they pulled the string out of the bottom. This created a symmetrical trumpet design.
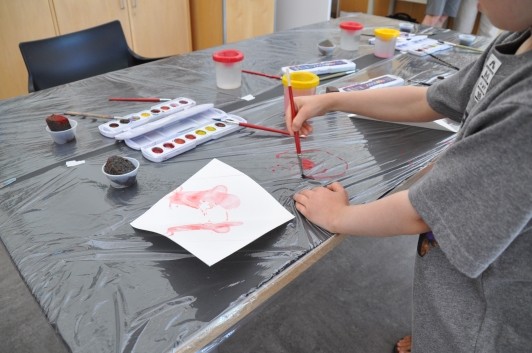
The watercolor station was a lot of fun, especially for the younger children who are still developing their fine motor skills. For this station, guest were encouraged to paint onto the plastic-wrapped table (something many adults joked about not being allowed to do at home) and then smoosh their paper onto the paint to create a splattered texture on top of, or underneath, their string-pull design.
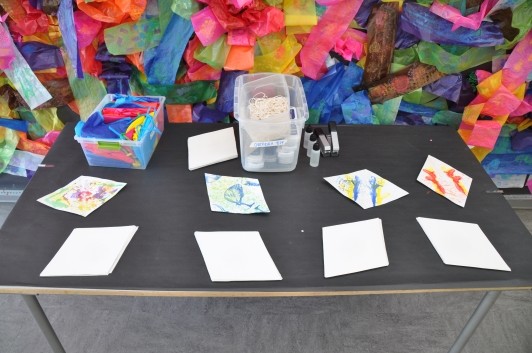
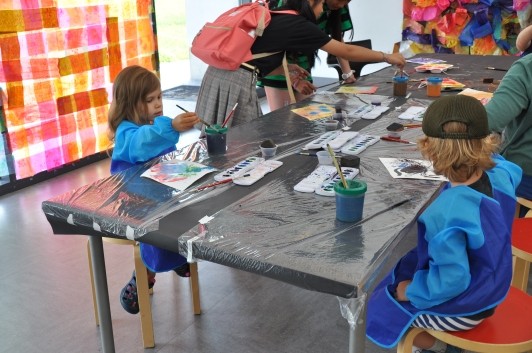
All the guest seemed to have an enjoyable time and one unexpected amusement for many were the clean-up sponges I had laid out. The sponges quickly went from clean-up material to painting material. This evolution added an extra layer to many of the guests’ artwork. As the guests added the watercolor and different string layers, it was interesting to see how they perceived the change in their design. For one child, after pulling their first string, they had created a bunny, but then they added a second string-pull on top and their bunny became a butterfly!
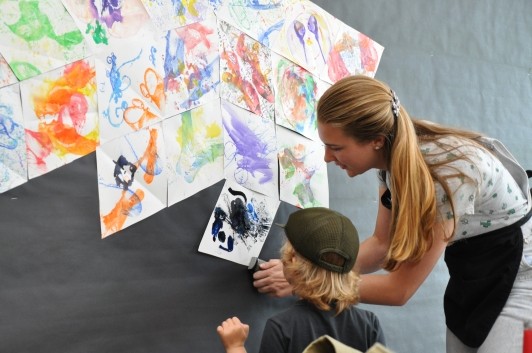
Many of the guest were pleased with their work and a majority of them took their creations home with them. However, others were more than happy to add to our wall installation, creating a wonderful collaborative design. Overall, it was a very successful project and was quite delightful to facilitate. It required more hands-on explanations of the process but also allowed for innovation, exploration, and variety.
