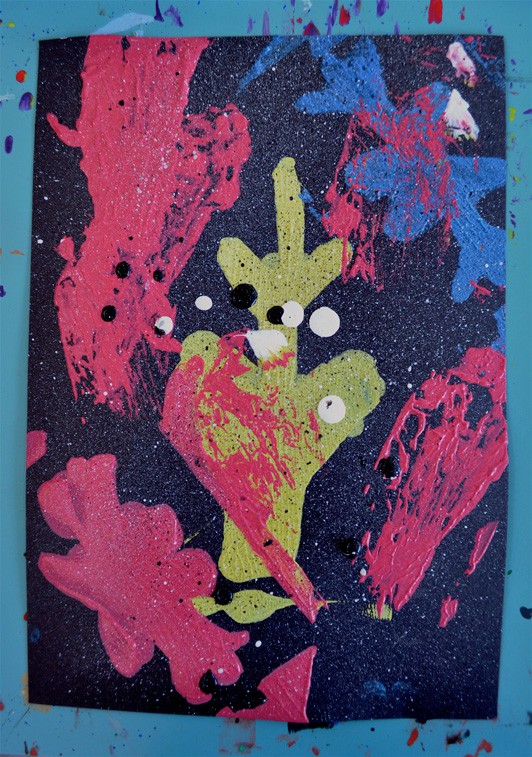
Stencil and Paint Experiment Workshop
Charged with designing one of this summer’s Let’s Make Art Together family workshops, Helen Austin and Anne Hayes, two of our summer interns, designed an exploration of painting and printmaking techniques inspired by This is Not My Hat by Jon Klassen. Anne and Helen describe their project here.
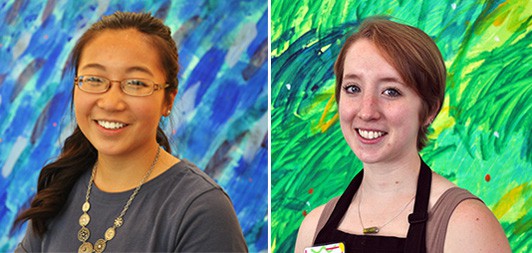
We began our process by talking about materials and techniques we were interested in exploring further ourselves. After experimenting with paint and paper, Art Educator Meghan Burch told us how much our experiments reminded her of Jon Klassen’s style of art in This is Not My Hat. While reading the book, we were drawn to the book’s layered plant-like imagery illustrated through various shapes and textures, and how the black background really enhanced the neutrally-toned paint. We decided to draw inspiration from these elements and create an experimental printmaking experience.
Knowing that the participants would include a wide age range of children and adults, we worked together to design an experience that would be interactive and experimental. Our activity included four different stations, each of which featured a different painting tool and technique.
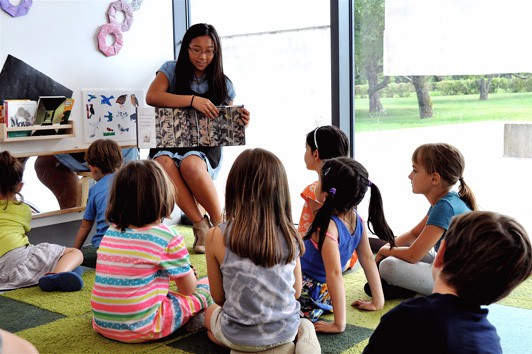
When the families arrived, Helen started by reading This is Not My Hat. Then we invited our guests to create their own versions of an underwater garden.
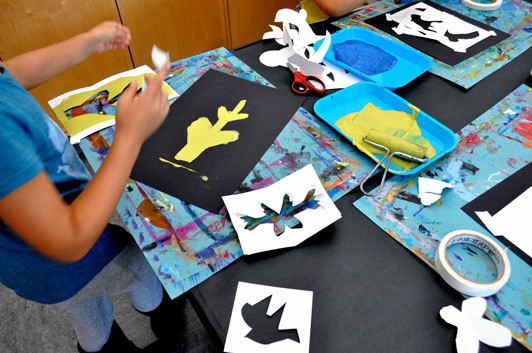
We had everyone start by making stencils out of cardstock using scissors, and tape. We shared two techniques for making stencils: folding the paper in half and cutting a shape along the folded edge, and keeping the paper open, cutting a shape out of the middle, and then taping the edges back together.
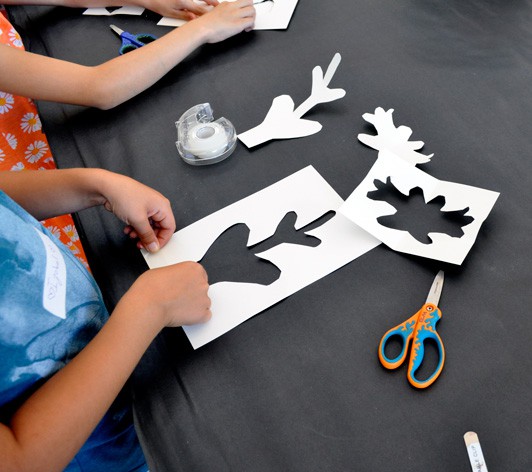
After everyone had one or two stencils that they liked, they received a piece of thick black paper with which they traveled to each of the three painting stations. There was no particular order in which to navigate the stations.
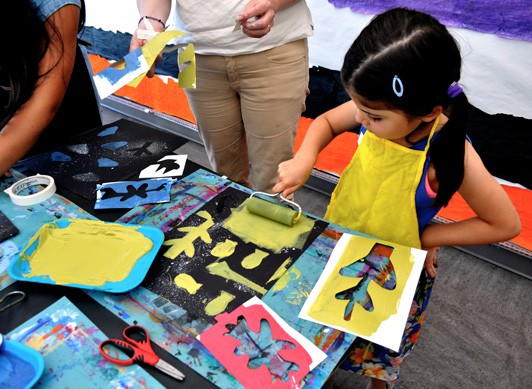
Stencil Prints: Guests used foam brayers and primary colored tempera paint to make prints with the stencils they created. Some people used artist’s tape to hold their stencils in place. Take a look at the Art Studio’s post: Printing with Stencils to learn more about using brayers to make prints.
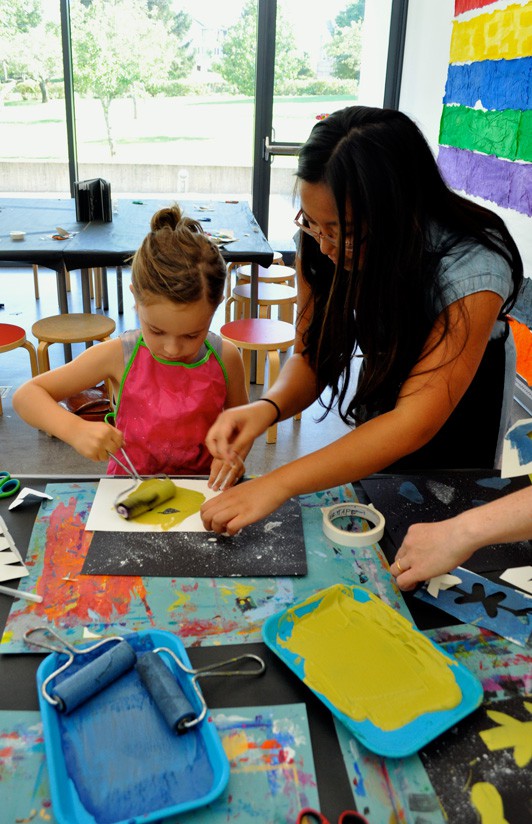
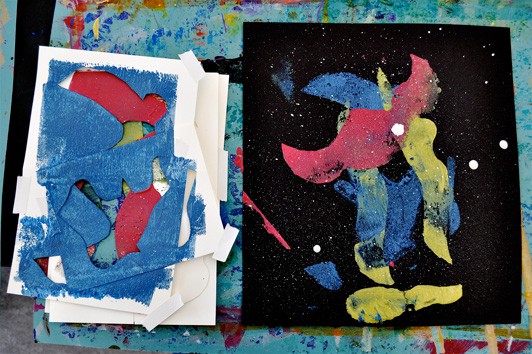
Plastic Wrap Rollers: Paper towel rolls and tape rolls wrapped with plastic wrap served as unconventional painting tools. Everyone was excited to roll the plastic wrap rollers in paint and transfer it to their paper, creating an interesting rippled texture.
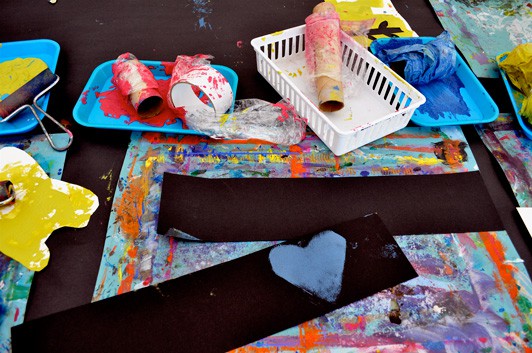
Toothbrush Splatter Painting: Both the children and their parents enjoyed using their fingers to flick paint from the toothbrushes onto their paintings. Splattering with either white or black was a nice way to balance out the other colors in each person’s work.
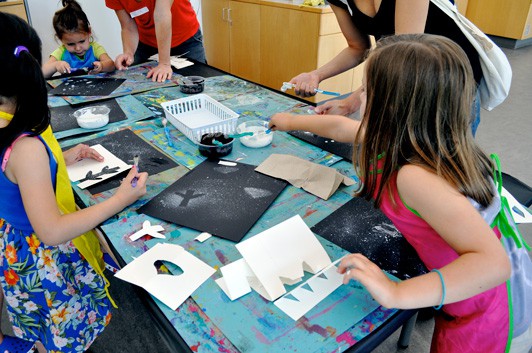
A few guests turned their finished prints into paper hats or crowns.
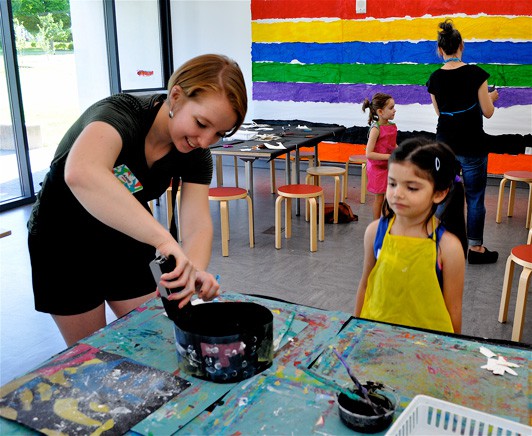
Ultimately, we were very happy with the outcome of our Let’s Make Art Together family workshop. The guests fully immersed themselves in the materials and techniques, and we were happy to see that many weren’t afraid of getting messy, a true sign of the creative process coming to life. The approachability of each tool we offered allowed for experimentation and creativity. Methodical artists took their time exploring the tools and carefully added each layer of their painting, while more spontaneous individuals had the freedom to leave the final appearance of their work up to chance by quickly using the tools. Each approach was fascinating to witness, and we’re glad the project was open-ended enough to allow each person to express themselves in their own way.
