Monotype Prints in a Drop-in Setting
A question we keep returning to in the Art Studio is how to introduce the widest possible range of art-making materials, techniques and tools to our drop-in program while maintaining a safe and open-ended environment for exploration. This means designing a project that can be sustained in the space for about a month, for all ages, and with up to 50 guests participating at once. We learned a lot from our summertime experiments in mixing tempera paints, so we challenged ourselves to design another paint project, this time exploring monotype prints.
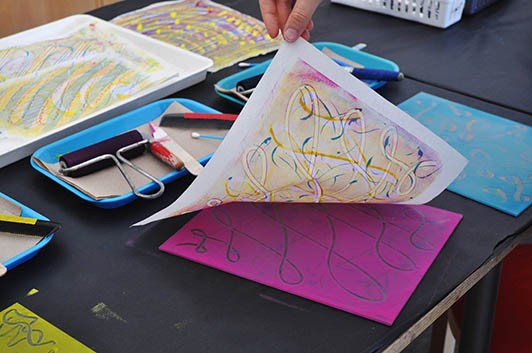
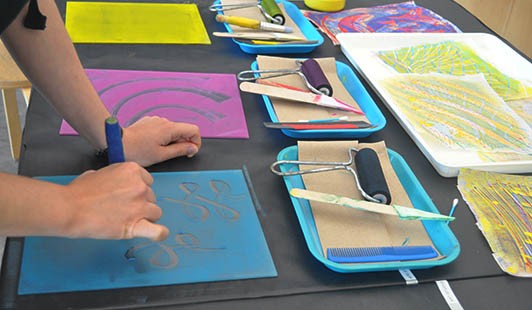
Monotypes are one-of-a-kind prints, created by the removal of paint from a smooth surface (plate), and then pressing paper onto the plate to create a transfer of line and color. Removing the paint from the plate can be done with a variety of tools in a process we started referring to as ‘drawing into paint’. Colors can be layered by pressing a single sheet of paper onto a series of plates each inked with different colors. The moment of peeling back the paper to see what has been captured in the print, as well as the fact that whatever is drawn on the plate ends up in reverse on the paper, creates an element of surprise that we were excited to share with Art Studio guests.
Monotype prints are generally created using specialist printing inks and papers. These printmaking inks are sticky and dry swiftly so that additional layers can be added without smudging. However, for our drop-in program, it is important that we use materials accessible to all, including our youngest visitors. We set about testing different materials in order to ensure that they were safe, easy to use, washable, and allowed for an effective exploration of the printmaking process for guests.
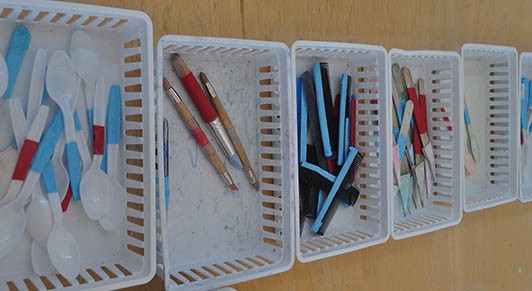
Knowing that we wanted to experiment with layering colors, and use our washable tempera paints, we tested out a variety of papers to see which would absorb the paint best. We settled on a highly absorbent paper called color diffusing paper, it has a similar texture to coffee filters (which make a great substitute!). By absorbing the water-based tempera paint quickly, the paper was dry enough to place on a second plate within seconds of removing it from the first. Watercolor paper also worked, but we needed to give the paint a bit longer to dry before pressing onto a second plate in order to avoided smudging the paint and transferring paint from the paper back onto the plate. We also tested out a range of tools to ‘draw’ into the paint with and found that providing a variety allowed us to explore a range of texture, line and shape.
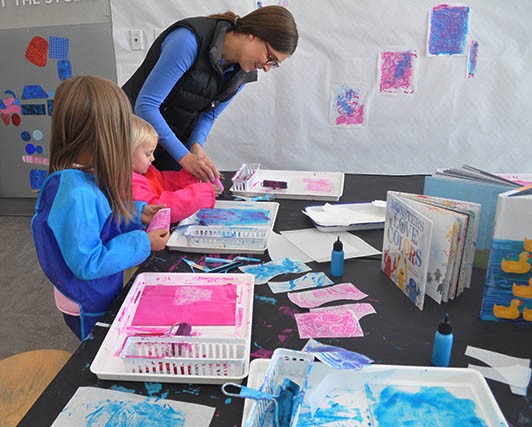
Once we had determined our paint and paper choice, we turned our attention to how we could best organize the materials on our tables. We wanted to invite guests to feel free to use the materials in any way they wished, while at the same time offering an opportunity to experience the sequence of steps involved in a multi-layered monotype print. To help scaffold the process, we decided to offer two colors of paint and set up two color-coded trays for guests to work on. We selected magenta and turquoise paint because we found that they created interesting colors and tones when layered, but they also created striking prints on their own. We gave each guest two large sheets of paper and provided unlimited smaller pieces of paper on the tables to experiment with.
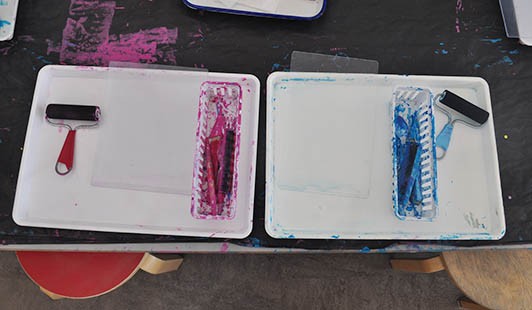
Each tray contained a plexiglass plate, a brayer to roll the paint onto the plate with, and a basket of tools to ‘draw’ into the paint with. We purchased small squeeze bottles for the paint so that guests could experiment with the amount of paint on their plate, and apply more as needed. The squeeze bottles were large enough to provide ample paint, but small enough so that if all of the paint was squeezed out at once onto the plate, the paint could be pushed around and explored within the larger tray without worry about spilling.
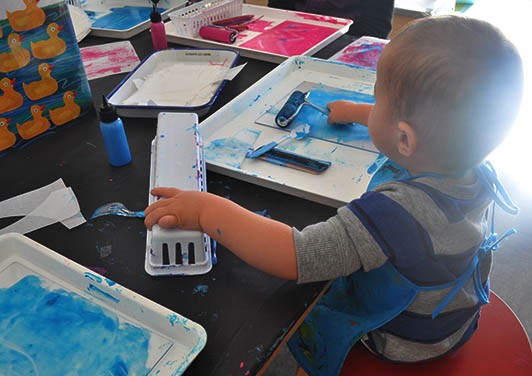
Some guests enjoyed the process of rolling paint onto the plexiglass plate with brayers. Others, enjoyed removing the paint from the plate with the variety of tools ranging from q-tips to combs and spoons.
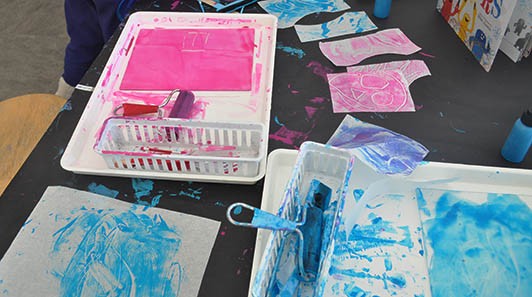
Others enjoyed the layering process and moved their papers between the turquoise and magenta plates.
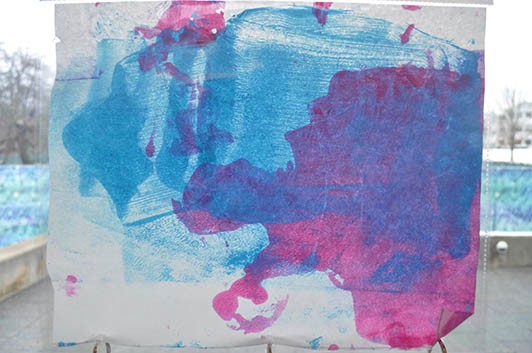
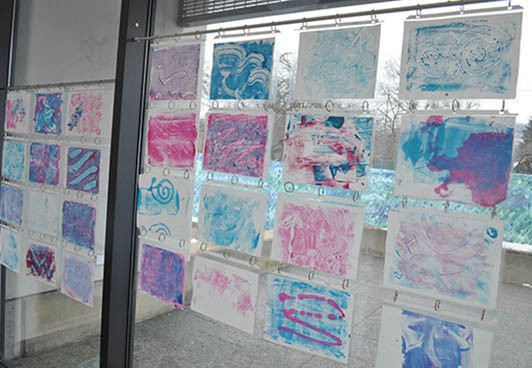
Because the papers had a translucent quality, we invited guests to add them to clear sleeves in the Art Studio windows where they could catch the light.
We look forward to more paint and print projects in the Art Studio soon! We will continue to explore these techniques and more in our Professional Development workshop Exploring Prints with Children where we look at ways to adapt printmaking to classroom and home environments. To learn more about our workshops, check out our PD program listings for more details.

