Toddler Art Activity: Contact Paper & Sparkly Things
Materials Play is a space and time for toddlers and their parent or caregiver to have fun in the Art Studio with materials and explorations selected especially for them. Sometimes messy, always open-ended and experimental, the 4-week series occur about once a season. On one of my recent Materials Play sessions I offered pieces of contact paper and a variety of sparkly things to stick to it.
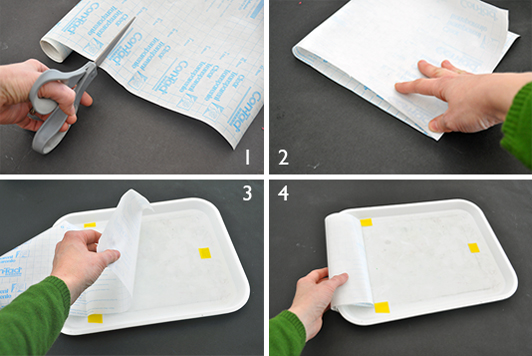
This is how I prepared the day before:
- I cut pieces of contact paper approximately 18 by 9 inches. The contact paper pictured comes from a library supplier, but I’ve used transparent shelf paper from the dollar store on other occasions.
- I folded each of the pieces in half in order to crease the backing paper. Then, with the paper side up, I peeled back (without removing) just one half of the contact paper backing.
- After centering each exposed half, sticky side up, on it’s own a cafeteria tray, I used three small pieces of masking tape (clear tape would be fine too), to keep the contact paper from curling up or sliding off. I repositioned the paper backing so that I could stack the trays on top of each other until it was time to use them.
- I gathered up whatever sparkly things we had on hand: scraps of ribbon, spangles and sequins, glittery pom poms, and paper clips. I put each kind of material into two containers so that children at each end of the work table would have access to each kind of material. Clear deli-counter cups and applesauce cups worked well because of their transparency.
The next day, as my young explorers arrived I peeled half of the paper back again, wrapping it and the unexposed side under the tray.
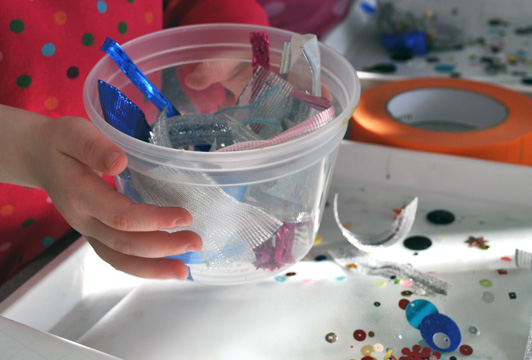
The toddlers who came to this activity were past the stage of putting things in their mouths. Each child was accompanied by an adult, so there was much supervision over the small sequins and pom-poms. If a young toddler had arrived, I would have made him or her their own cup with just large ribbon pieces.
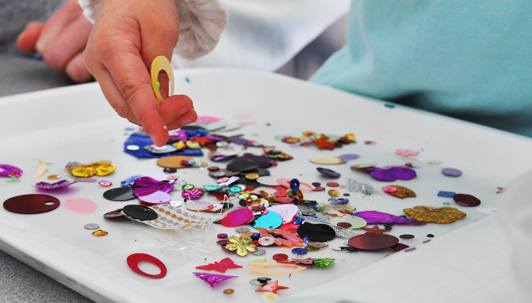
Some children carefully arranged and placed each item in its own space on their contact paper. Others were interested in the sensory experience of sticking and unsticking the objects and their hands to the contact paper. Of course, there were the pourers too, dumping little cups of spangles on their contact paper and calling it a day.
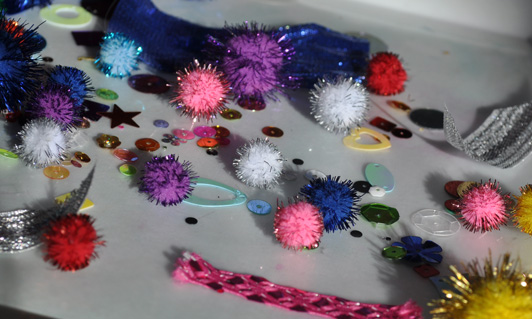
When each child was done with their composition, I removed the backing paper from the untouched side of the contact paper and closed it over the sparkly side as you would a book. The parents and I folded strips of colored masking tape (of each child’s choosing) over the three open sides to prevent loose parts from falling out.
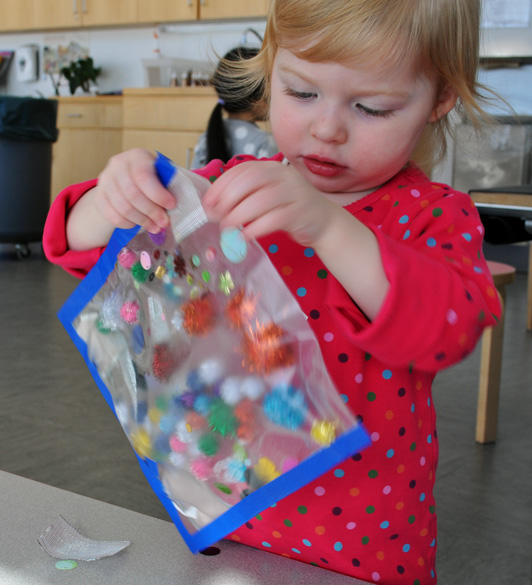
This child enjoyed shaking the pocket and seeing which objects moved around in her pocket before going up to the window and examining her pocket in the bright light.
If you try this at home, it isn’t necessary to work on a tray. You could secure the contact paper right to a table. I like to use trays with young children to help define their work area and aid in cleanup. Trays also allow me or the child to easily move their work or put it aside for later.
We ordered our spangles and poms from Discount School Supply, but you might find other materials from around your house or school. In the past I’ve facilitated another contact paper exploration with found materials such as strips of plastic bags, thin packing foam/wrap and mesh produce bags with contact paper. One summer we stuck leaves and flower petals to contact paper while working on the light table.
What kinds of things do your toddlers like using with contact paper?

