Chromatic Stamping Display
This spring, when delivering outreach programs inspired by Eric Carle’s process, I was reminded of the magic of stamping on Folia transparent paper. Students marvel at the paper colors, how they can stamp on them to create densely textured collage papers, and how the papers can be cut or torn easily to make a collage.
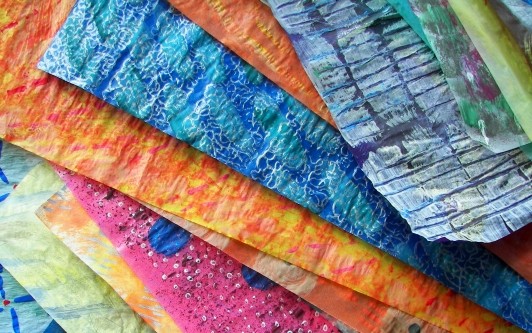
Something that I didn’t get to explore with them is how the paper plays with light, creating shining vibrant colors that mix when layered. I thought about this when planning a Materials Play program for our youngest visitors and their caregivers, thinking about how they could stamp the papers, and we could turn those papers into a display for all guests to enjoy.
To begin the day, I laid out drop cloths on the table tops and placed the large, 20inx28in papers on the tables in ROYGBIV order. (I also scattered around smaller pieces of paper that they could stamp and take home if they wanted.) Between each of the papers, I placed two of our homemade stamp pads. I chose to have out primary color stamp pads and silver, a similar combination I used with school groups.
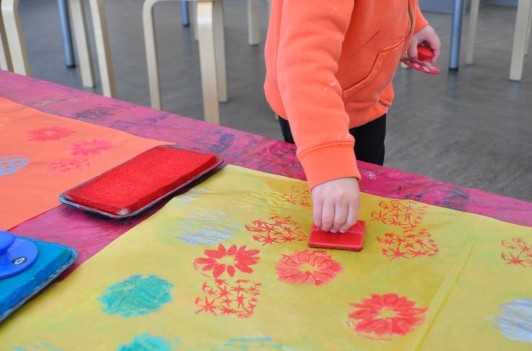
As guests arrived, they sat in front of their favorite colored papers to stamp or chose to move around the tables, placing stamps on them all. I encouraged them to cover the papers in stamps and layer them as they’d like.
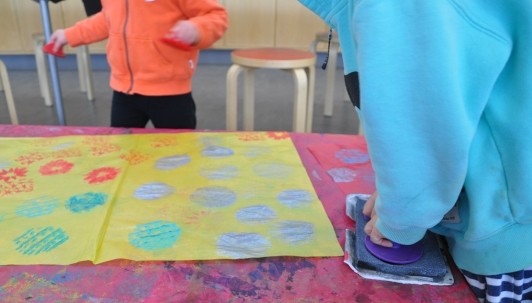
After the stamping was complete and the program came to a close, I laid the papers to dry.
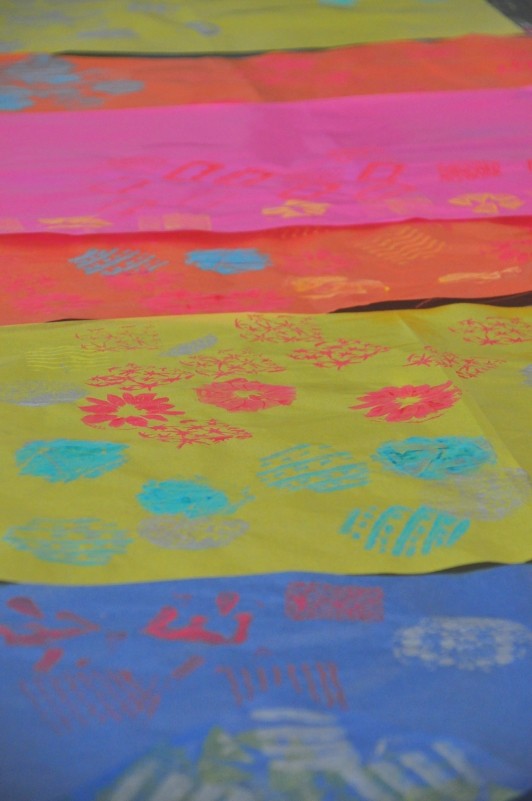
While they dried, I considered how they could be displayed. We’ve done weavings in the past and I wanted to highlight again the amazing way this paper can create color combinations when light shines through it’s layers.
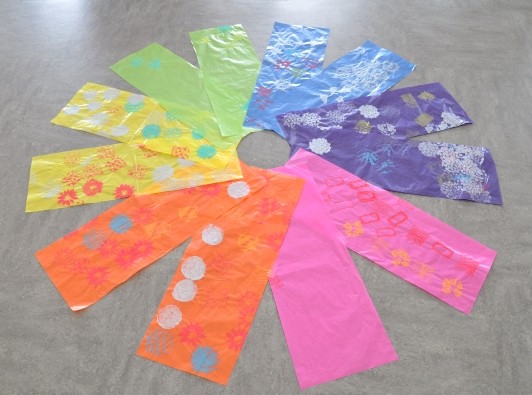
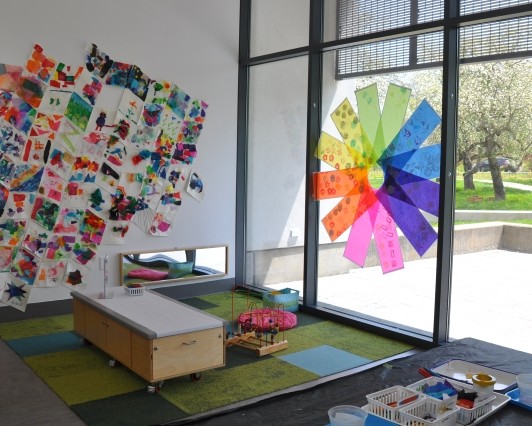
I began to cut the papers into strips, picking out the most densely-stamped areas. Once the paper was in strips, I chose two from each color and began to play with the arrangement on the floor. I liked the idea of having a circle in the center with the colors radiating out and after deciding on the center’s size, I taped the papers together using clear tape.
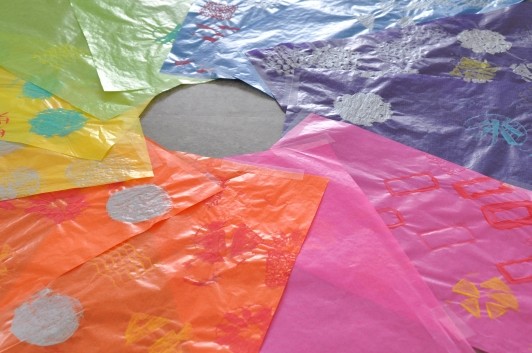
Once they were secured together, I found that they fit perfectly within one pane of our windows. I placed it vertically and then began to washi tape it to the windows, choosing a black-and-white tape that wouldn’t distract from the colorful display. We chose to use washi tape instead of clear tape as we have discovered that it comes off of the windows easier than clear scotch tape or masking tape and doesn’t leave residue marks.
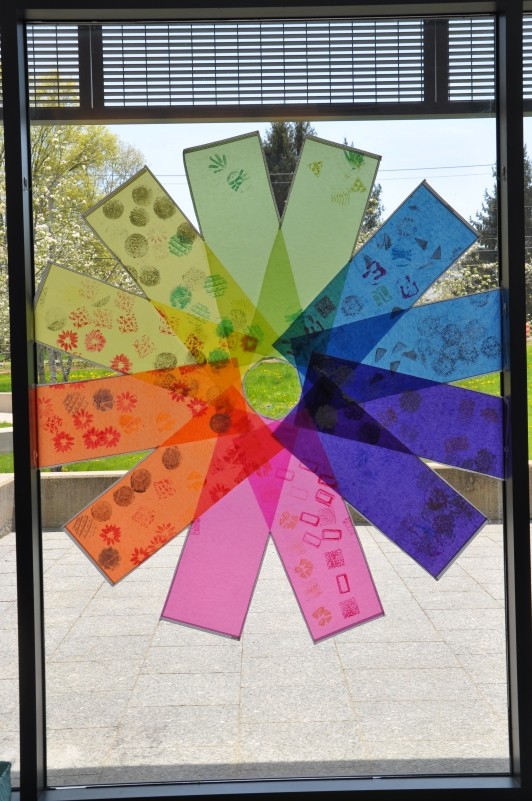
Over the course of the next couple of months, the display shone in the toddler area. Young guests enjoyed looking at and touching the display, feeling its smooth paper and noticing the crinkly sound that the paper makes.
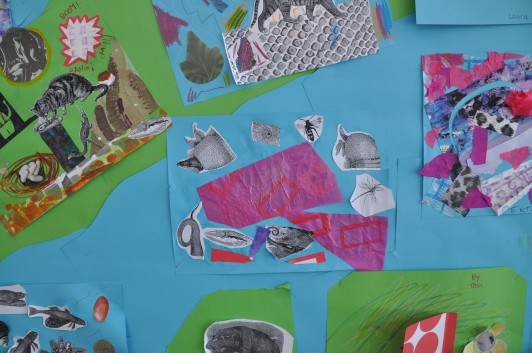
When the papers began to fade, we took the display down and began its next phase in the project cycle, from display to art material. We began that process by chopping the strips into smaller pieces and mixing them into our collage paper bins. At the beginning of July, we began our current EAP, Collagimals, and brought out the paper bins for guest use. Some guests have already incorporated the papers into their artwork, can you spot the stamped Folia paper in this picture below?
