
Paper Marbling with Adults
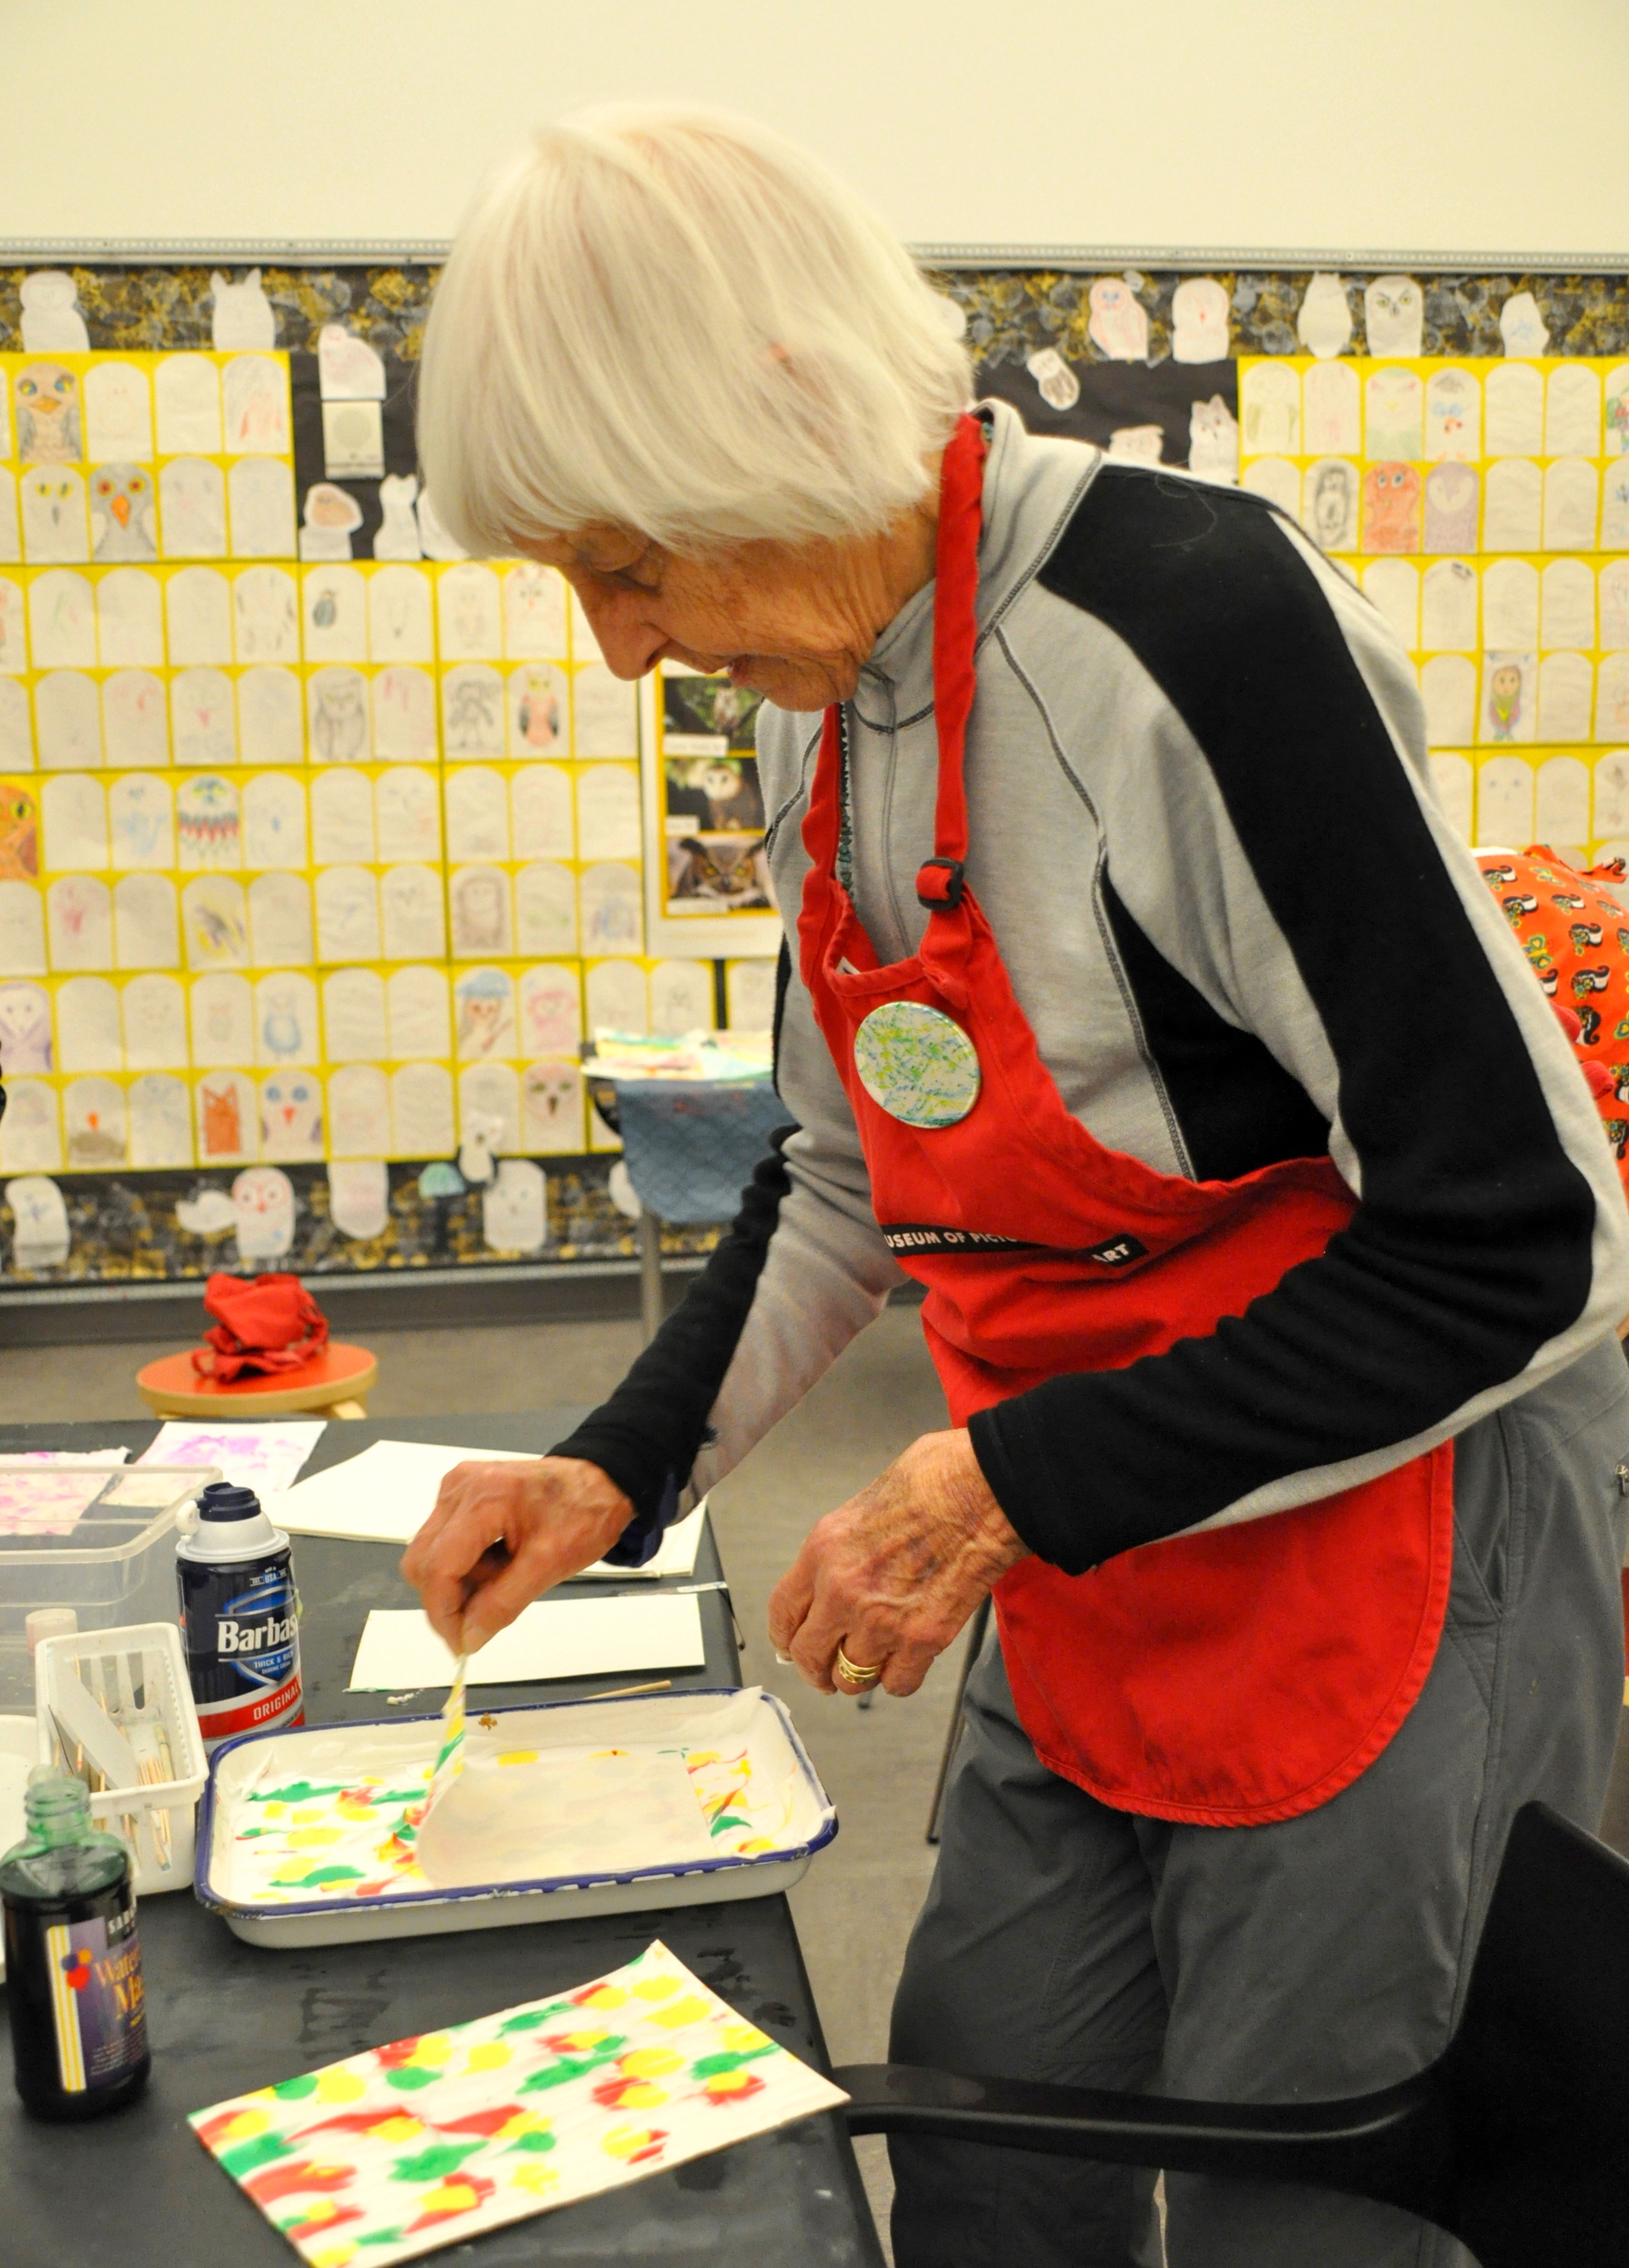
In our most recent evening adult workshop, we explored paper marbling. The workshops are designed with experimentation and introductory levels in mind, allowing people to create their own artwork surrounding a theme. This winter, participants explored three different marbling techniques using materials found around the home, combined with art materials readily accessible in art supply stores.

When researching marbling techniques for the class, we discovered that many techniques involved purchasing harsh chemicals or hard-to-find ingredients. Since the workshop was focused more around experimentation and being able to re-create the techniques at home, we decided to avoid those and focus our research on finding methods that involved more friendly materials such as soap and water. With that in mind, we explored three techniques that involve suspending pigments in aqueous solutions then capturing those patterns onto paper. We used a variety of papers, mainly a drawing paper, Masa paper, watercolor paper, and thick rice paper. Each allowed for a different potential for re-use, a thicker paper could become a card while the thinner Masa paper could become a book cover.
Shaving Cream and Liquid Watercolor
One technique involved shaving cream and liquid watercolor, a process Kelly Niland, an Art Studio intern this past summer, had explored. While she decided to use acrylic paint, we opted for liquid watercolor as clean-up was much easier. Participants dropped colors onto thin layers of shaving cream, used wooden tools such as toothpicks to direct the color, placed a paper on top of the design, and then peeled it off.


Marbling with Bubbles
Another technique we used was bubble printing. This process was the most replicable at home, using only water, dish soap, and food coloring. Participants put a mixture of soap and water (ratio of 1 part soap to approximately 2 parts water) into a small cup. They added colors to the mixture, many making separate cups for different colors. Participants then blew through straws into the soap and water mixture, (taking care not to drink the mixture!) creating bubbles that foamed to the surface. To capture the bubble texture onto paper, they removed their straws and placed the papers right on top of the bubbles, popping them onto the paper. The process was repeated over and over until pages were covered with the beautiful patterns.


Suminagashi
Our third method involved water, soap, and ink in a technique called Suminagashi. This is a Japanese technique of marbling where ink is suspended on the surface of water and rings of color are created by repeatedly tapping the surface of the water with a paintbrush dipped in soapy water or ink. We purchased our Suminagashi ink kit through the art supply store Dick Blick, and black sumi-e ink works as well which is more readily available at art stores.


